Step-by-Step Instructions
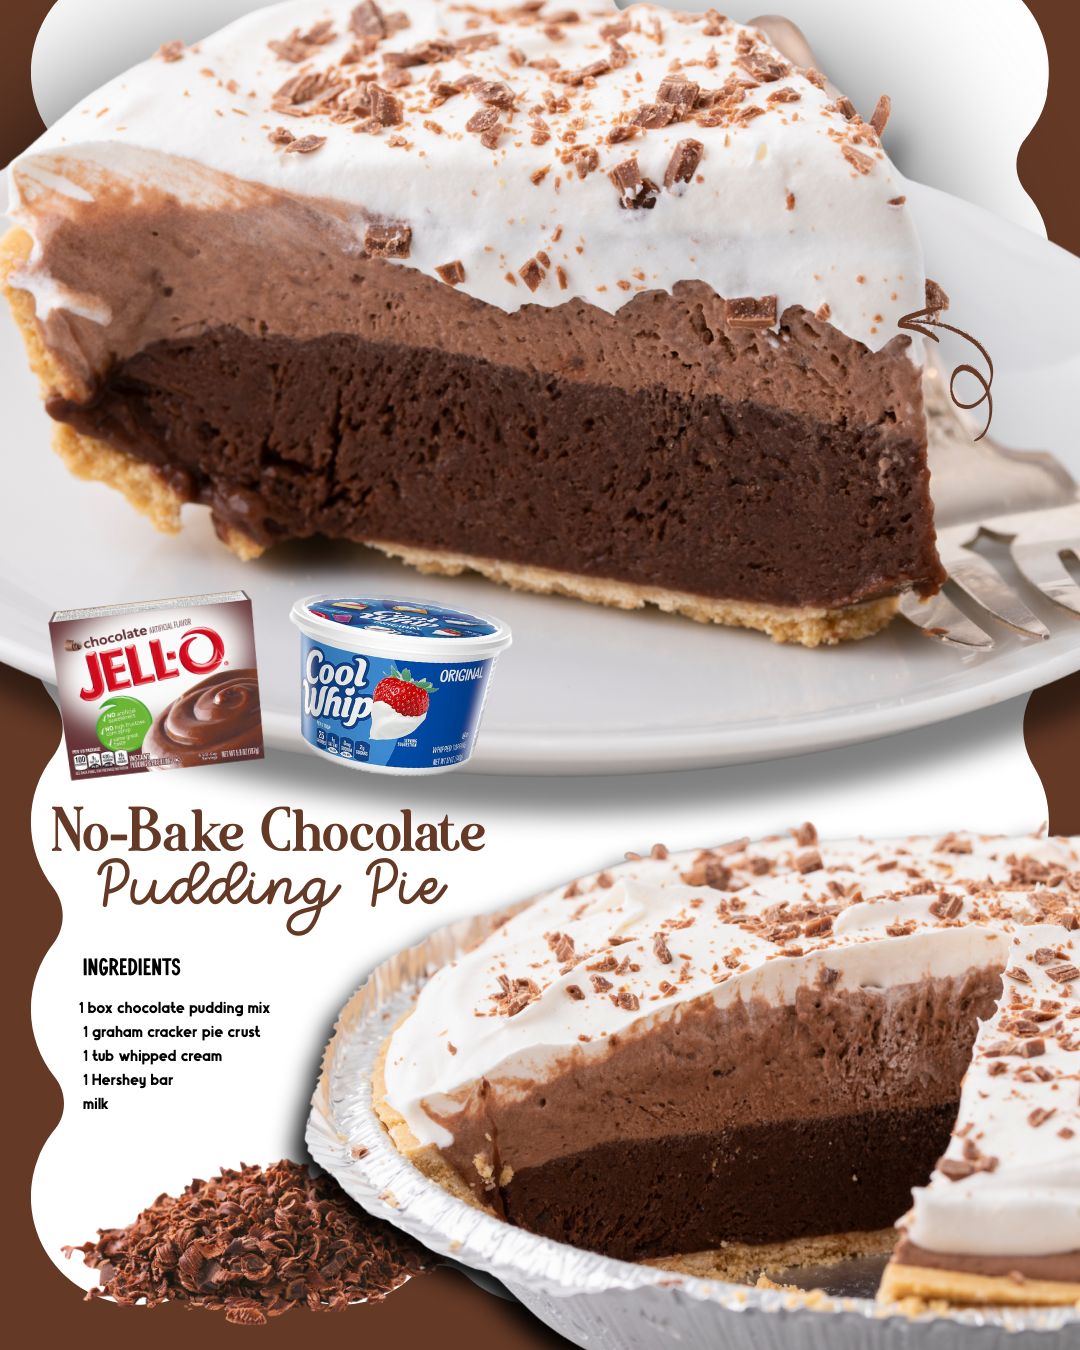
The magic begins with the pudding. I pour the icy cold milk into my big bowl, then sprinkle the entire box of pudding powder over it. I start whisking immediately, and I mean it—don’t let the powder sit on the milk for long. I whisk for a full two minutes, watching the liquid magically thicken into a glossy, dark, spoon-coating pudding. The scent is pure, sweet chocolate. I then let it sit for about five minutes to set further; this little rest makes it perfect for the next step.
This next part is where the “creamy” in the title really comes to life. I scoop about a third of the thawed whipped topping into the bowl with the set pudding. Using my spatula, I gently fold it in. I learned the hard way that beating it would deflate all the air and make it dense. Instead, I use a soft, lifting motion from the bottom of the bowl until no white streaks remain. The mixture becomes cloud-like—light, mousse-y, and incredibly inviting.
Finally, I scrape this airy chocolate dream into the waiting pie crust. I use the spatula to smooth the top into elegant, swooping waves. Then, I spread the remaining whipped topping over the entire surface, creating a soft, white blanket. I pop the whole pie into the refrigerator to chill for at least four hours, though I often let it go overnight. The waiting is the hardest part, but it’s crucial for that perfect, sliceable texture.
Pro Tips for Best Results
My number one tip is all about temperature. Make sure your milk is truly cold straight from the fridge. I once used milk that had been sitting on the counter, and the pudding took forever to thicken properly, leaving me with a slightly weepy pie. The cold temperature is what activates the instant pudding’s setting power quickly and effectively. It’s a simple step, but it makes all the difference between good and great.
When folding in the whipped topping, patience is your virtue. I tested folding in the entire tub at once versus doing it in batches. Adding it in two or three additions, as I outline in the instructions, incorporates it much more evenly without overworking the mixture. You’re aiming for a homogenous, light brown color without deflating the precious air bubbles. This technique gives you that signature creamy-yet-fluffy texture that makes every bite melt in your mouth.
For the grand finale with the chocolate bar, don’t grate it until the very last second before serving. I made the mistake of garnishing the whole pie right before chilling it, and the gorgeous chocolate curls melted and lost their definition in the fridge’s humidity. Now, I store the chocolate bar in the fridge, and then, just as I’m about to bring the pie to the table, I quickly run my peeler over it for a stunning, fresh garnish that adds a wonderful little crunch.
(See the next page below to continue…)