The moment I lifted the first creamy, dreamy square of this No-Bake Christmas Oreo Lasagna onto a plate, I knew I’d found my new holiday signature dessert. My kitchen smelled like a happy collision of a candy cane factory and a chocolate shop—cool, sweet, and utterly indulgent. I first made it for a frantic friendsgiving potluck, and the stunned silence followed by a chorus of “Oh my gosh, what IS this?” was all the review I needed. It’s the showstopper that looks like you slaved for hours, but friends, the secret is that it’s laughably simple. Let me walk you through how I make this festive miracle, so you can bring a little edible magic to your table this season.
Ingredients
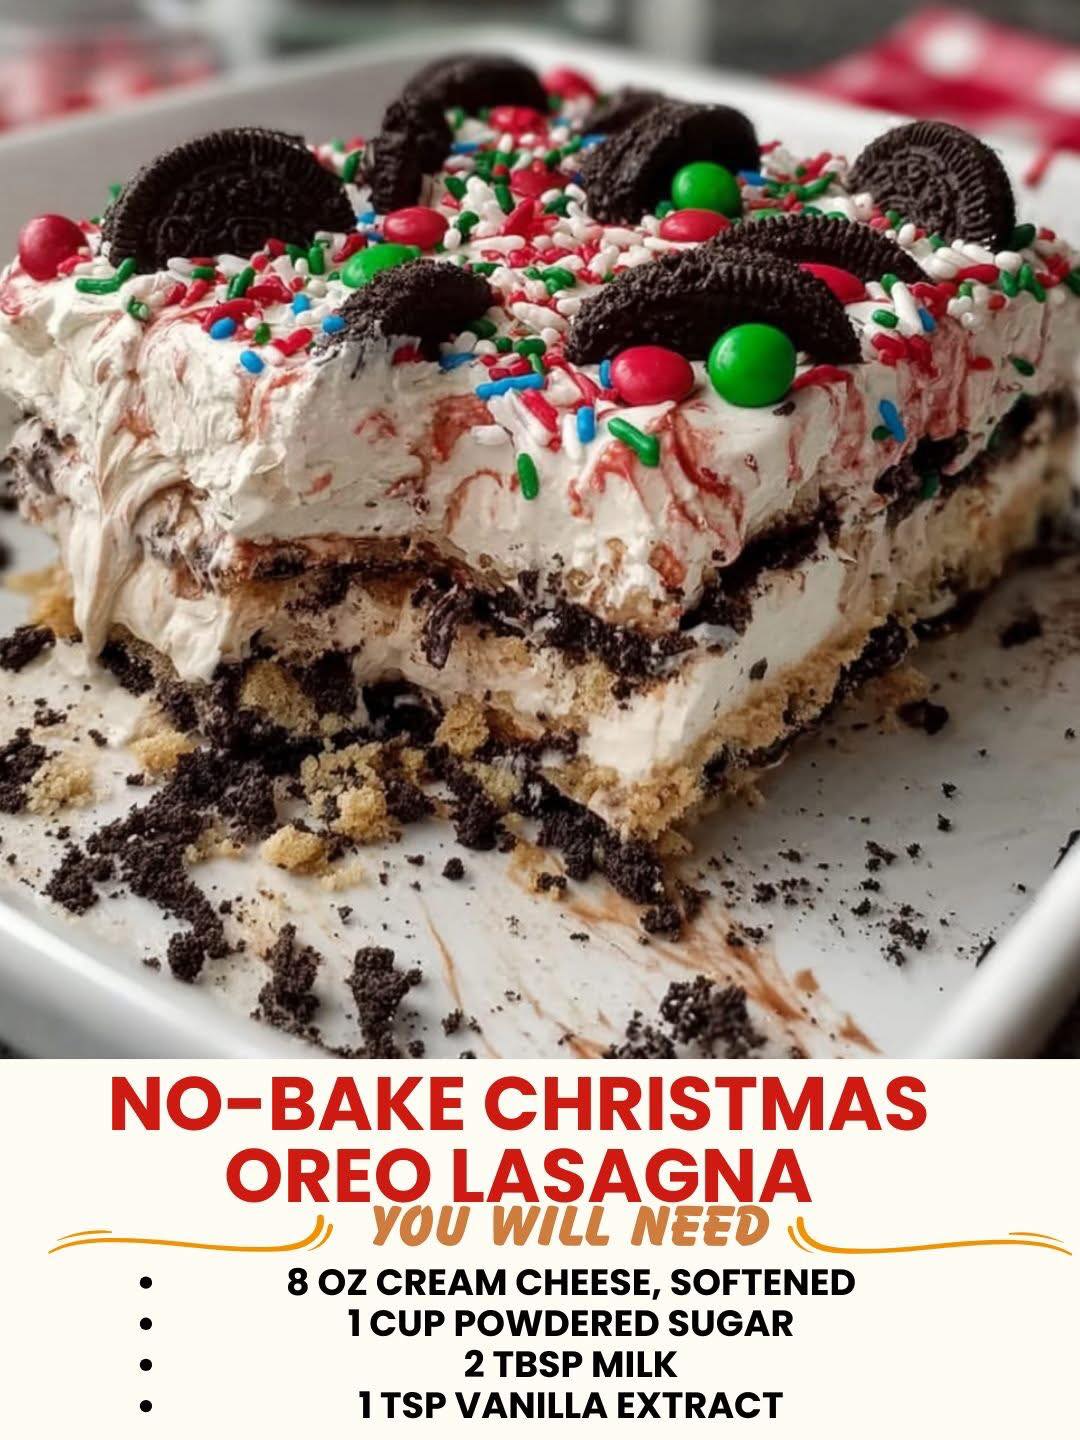
- 8 oz cream cheese, softened
- 1 cup powdered sugar
- 2 tbsp milk
- 1 tsp vanilla extract
- 1 package (14.3 oz) Oreo cookies
- 1/4 cup unsalted butter, melted
- 2 boxes (3.4 oz each) instant chocolate pudding mix
- 3 1/4 cups cold milk (for the pudding)
- 1 tub (8 oz) frozen whipped topping (like Cool Whip), thawed, plus more for garnish
- Optional for garnish: Crushed candy canes, holiday sprinkles, extra crushed Oreos
Now, let’s talk ingredients from my experience. That softened cream cheese is non-negotiable. I’ve tried to rush it by microwaving, and it never blends smoothly—you’ll get little lumps that haunt every layer. Just plan ahead and let it sit on the counter for a good hour. For the Oreos, I use the regular kind for a classic flavor, but I’ve also made a stunning “peppermint twist” version using the limited-edition Peppermint Oreos—it’s incredible. And please, do not substitute the instant pudding for cook-and-serve. I learned that the hard way one desperate year; the texture never sets right. The instant pudding is the structural hero here, I promise.
Equipment Needed
- 9×13 inch baking dish or casserole dish
- Food processor or a heavy-duty zip-top bag and rolling pin
- Large mixing bowl and electric hand mixer or stand mixer
- Medium mixing bowl and whisk
- Rubber spatula
- Measuring cups and spoons
You don’t need any fancy equipment, but I will swear by my food processor for crushing the Oreos. It gives you that perfect, even “dirt” texture for the crust in about ten seconds. If you don’t have one, the zip-top bag and rolling pin method is a fantastic stress-reliever—just make sure the bag is truly heavy-duty, or you’ll have chocolate shrapnel all over your kitchen (ask me how I know). My stand mixer makes the cream cheese layer effortless, but a hand mixer works just as well. The one tool you shouldn’t skip? A rubber spatula. It’s essential for scraping down the bowl to ensure every bit of that sweet, fluffy filling gets used.
(See the next page below to continue…)