Step-by-Step Instructions
First, we build the foundation. Toss the entire package of Oreos (filling and all!) into the food processor and pulse until they’re fine crumbs. Pour them into a bowl and stir in the melted butter until it looks like wet sand. I press this firmly into the bottom of my 9×13 dish. I mean it—really press it down with the bottom of a measuring cup. A loose pack will cause the crust to crumble when you slice it later. I pop this into the freezer for 10 minutes while I work on the next layer. This quick chill helps it set up, making it much easier to spread the next layer on top without disturbing the crumbs.
Next comes the sweet, tangy heart of the lasagna. In my large bowl, I beat the softened cream cheese until it’s completely smooth and creamy. This takes a good minute or two. Then, I slowly add the powdered sugar, followed by the 2 tablespoons of milk and vanilla. I scrape down the sides thoroughly—those hidden pockets of un-mixed cream cheese are sneaky! Once it’s silky, I gently fold in half of the tub of whipped topping with my spatula. This is the layer that makes people swoon. I pull the crust from the freezer and spread this cream cheese mixture over it as evenly as I can. A little wiggle of the dish helps it settle. Then, it goes back into the fridge. This chill is crucial; it creates a barrier so the pudding layer doesn’t seep down.
For the final act, I whisk the chocolate pudding mixes with the 3 1/4 cups of cold milk in a medium bowl for a full two minutes. It will start to thicken almost immediately. I let it sit for 5 minutes to set further, then I carefully spoon and spread it over the chilled cream cheese layer. I work quickly but gently here. The grand finale is artfully spreading the remaining whipped topping over the pudding. This is where the “lasagna” look really comes together! I cover it tightly and refrigerate it for at least 6 hours, but overnight is truly best. The agonizing wait is worth it for that perfect, clean slice.
Pro Tips for Best Results
My number one tip, born from impatience, is time is an ingredient. That minimum 6-hour chill isn’t a suggestion; it’s the law. I once tried to serve it after only 4 hours because my guests arrived early, and while it tasted amazing, it sliced like a landslide. Overnight refrigeration allows all the distinct layers to fuse into a firm, sliceable masterpiece. Trust the process and make it the day before your event. It’s the best gift you can give your future, less-stressed self.
When folding in the whipped topping for the cream cheese layer, be gentle and use a folding motion with your spatula. I’ve gotten overzealous with the mixer before, and it deflated the topping, resulting in a denser, less cloud-like layer. You want to preserve as much of that airy volume as possible for that signature light texture. Also, don’t skip the “scrape the bowl” step. I can’t tell you how many times I’ve found a streak of pure cream cheese hiding at the bottom because I was rushing.
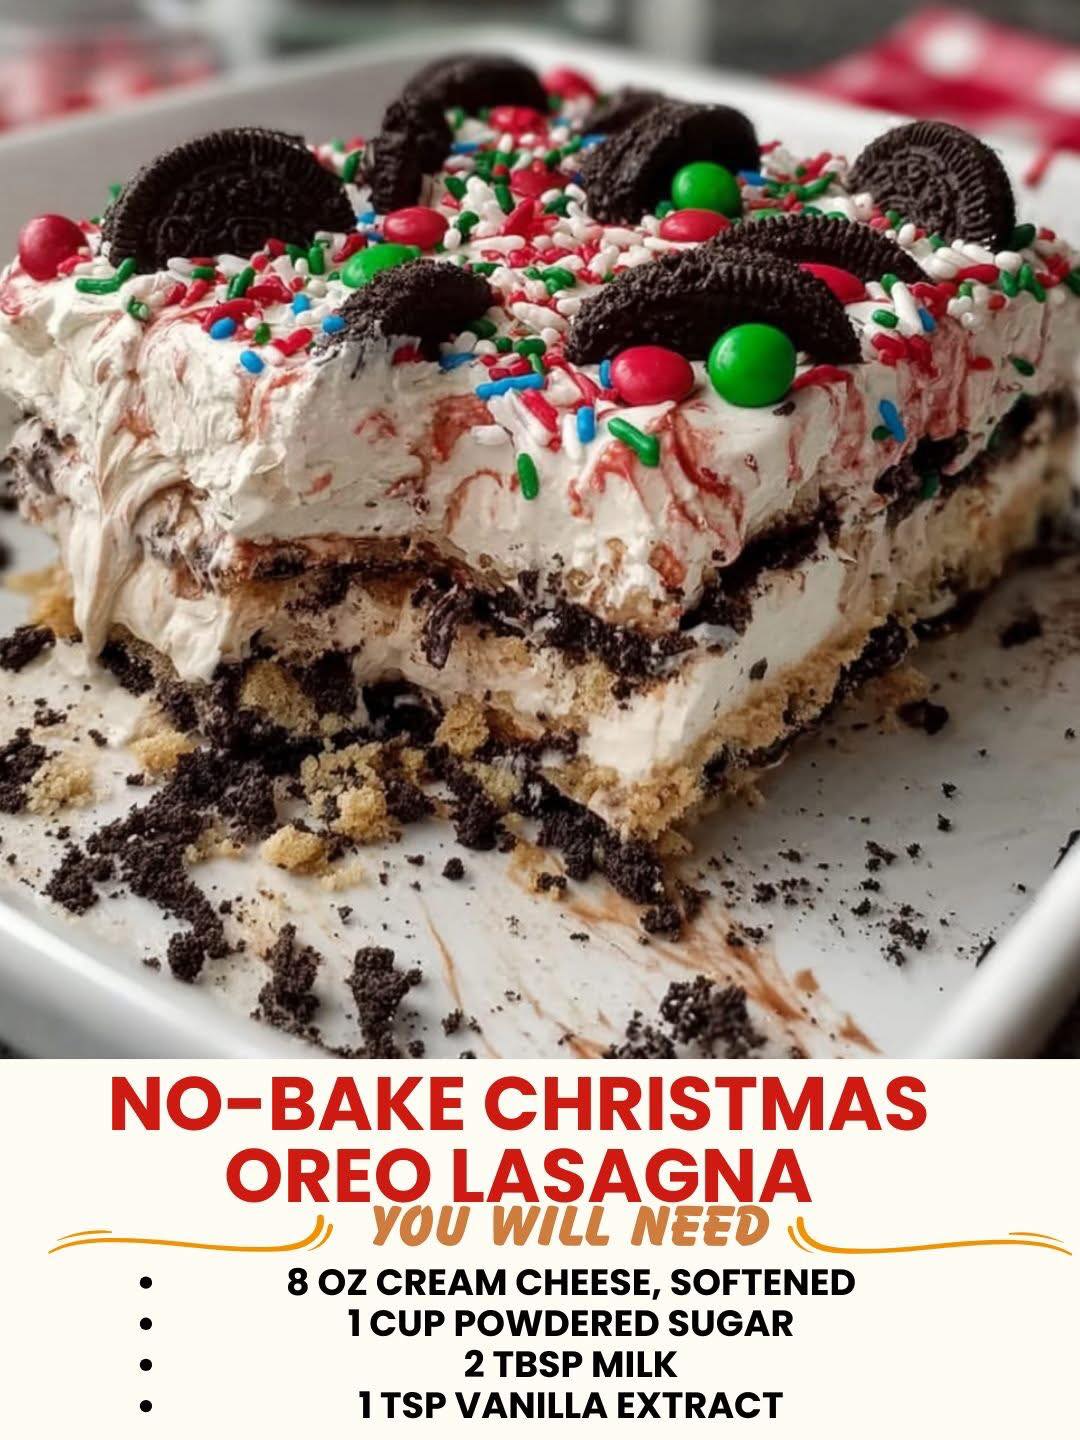
For gorgeous presentation, I add my garnishes just before serving. If you sprinkle crushed candy canes or cookies on top before the long chill, they can weep color or get soggy. I keep a little extra whipped topping in a piping bag with a star tip in the fridge. Right before I bring the dish to the table, I pipe a simple border and shower it with festive sprinkles and a dusting of fine Oreo crumbs. It takes 2 minutes and makes it look professionally done.
(See the next page below to continue…)