Another pitfall is not letting the cream cheese come to room temperature. If it’s too cold, you’ll end up with lumps in your filling that ruin that creamy texture we aim for. Trust me, softened cream cheese makes all the difference in achieving a smooth mixture.
Overmixing the whipped topping can lead to a dense filling instead of the fluffy dessert we want. I’ve been guilty of this too! Just gently fold it in with a spatula until it’s incorporated, and you’ll maintain that delightful lightness.
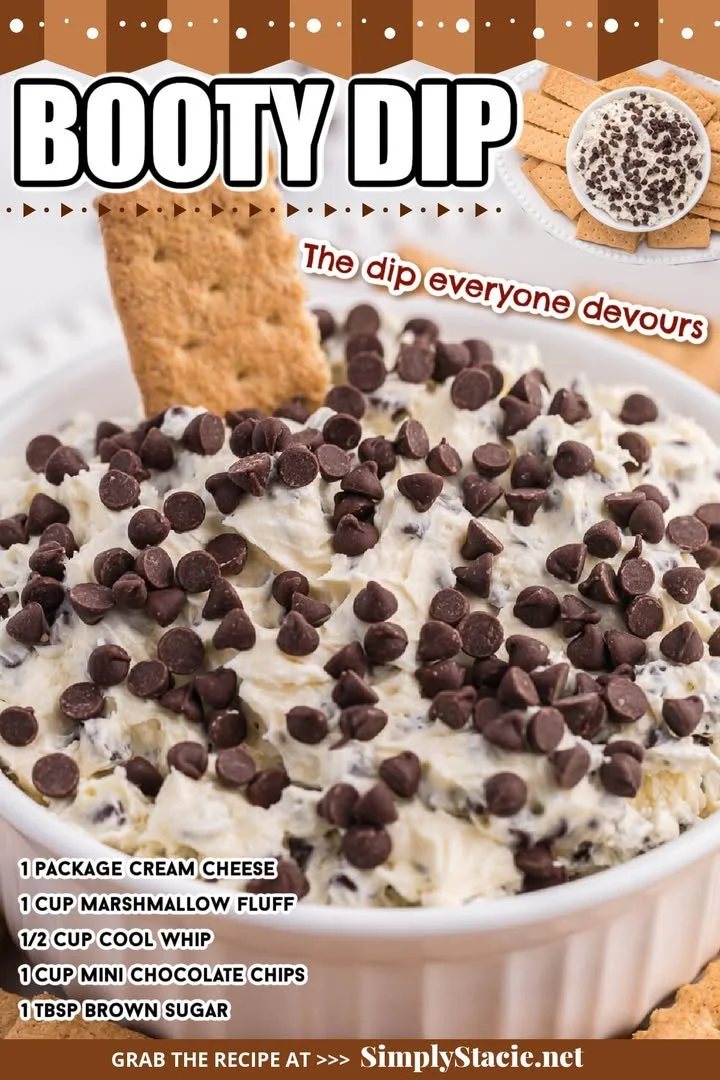
Finally, be careful with the chocolate chips! If you add them while the filling is too warm, they can melt and create a not-so-pretty marbling effect. Patience as it cools does wonders here!
Serving Suggestions
This no-bake dessert is perfect for potlucks and gatherings. I love serving it alongside fresh berries or a scoop of ice cream for an extra treat. The contrast of the cool, creamy layers with fruits adds a refreshing, vibrant touch that your guests will love!
To make it even more special, try garnishing with a sprinkle of crushed nuts or a drizzle of caramel sauce. It enhances the flavors in such a delightful way, and the texture contrast is simply irresistible. Plus, it makes it look so appealing when served!
If you’re looking for a fun way to celebrate a special occasion, consider placing candles on top for birthdays or anniversaries. It’s a simple yet charming touch that makes this dessert feel even more festive!
Variations & Customizations
One of the best things about this recipe is how adaptable it is! If you’re not a fan of chocolate chips, you can replace them with fruit puree or even chopped fresh fruits like strawberries or bananas for an entirely different flavor profile. The options are endless!
For a fun twist, consider swapping the graham crackers for crushed cookies, like peanut butter cookies or ginger snaps. Each brings its unique flavor, making the dessert truly your own. I once made a spiced ginger version that was so delightful during the holidays!
If you want to give it an adult twist, drizzle the top with Baileys or rum-infused chocolate. This makes for a decadent dessert that’s perfect for a dinner party. Just a splash of something spirited elevates it from everyday to extraordinary.
How to Store, Freeze & Reheat
Storing leftovers is super simple! Just cover the dessert with plastic wrap or store it in an airtight container in the fridge. I’ve found it lasts up to a week, but trust me, it rarely makes it that long!
If you’re planning to freeze it, be sure to slice it into portions before wrapping. This way, you can enjoy a piece straight from the freezer any time the craving strikes. Just let it thaw in the fridge for a few hours before serving, and you’ll be amazed at how well it holds up!
Reheating isn’t something you typically need to do with a no-bake dessert, but if you like it a little gooey, you can pop individual slices in the microwave for a few seconds. Just be cautious not to overdo it, as the texture may change. I prefer it chilled, but it’s fun to experiment!
Conclusion
I hope you’re as excited to try this no-bake dessert as I was when I first made it! It’s so easy to whip up and customize, making it a go-to in my kitchen for those sweet cravings. Remember, no-bake meals don’t have to be complicated to be delicious—and this recipe proves it! Enjoy creating this treat for yourself, and share it with friends and family for an unforgettable dessert experience. Happy baking (or in this case, mixing)!