Step-by-Step Instructions
The process begins with the crust, and it’s as simple as can be. I combine the graham cracker crumbs, sugar, and melted butter right in a bowl until it looks like wet sand. Then, I press a heaping tablespoonful firmly into the bottom and up the sides of each lined muffin cup. I use a small glass or measuring cup to really press it in—this compacting is key so the crust holds together when you peel the liner off later. I pop the whole tin into the freezer for at least 15 minutes to set solidly. This chill time is non-negotiable; it’s what gives you a sturdy, crisp base that can hold the creamy filling without getting soggy.
While the crust chills, I make the magic happen. I whisk the instant pudding mix with the cold milk for a full two minutes until it’s thick and smooth, then I let it sit for 5 minutes to set further. In another bowl, I whip the heavy cream, powdered sugar, and vanilla to soft, billowy peaks. Here’s my favorite part: I fold about two-thirds of this whipped cream gently into the pudding. This creates the most luxuriously light and airy banana cream filling you can imagine. I’ve tried just using pudding alone, and the texture is denser and less exciting. Folding in the cream is the secret to that cloud-like bite.
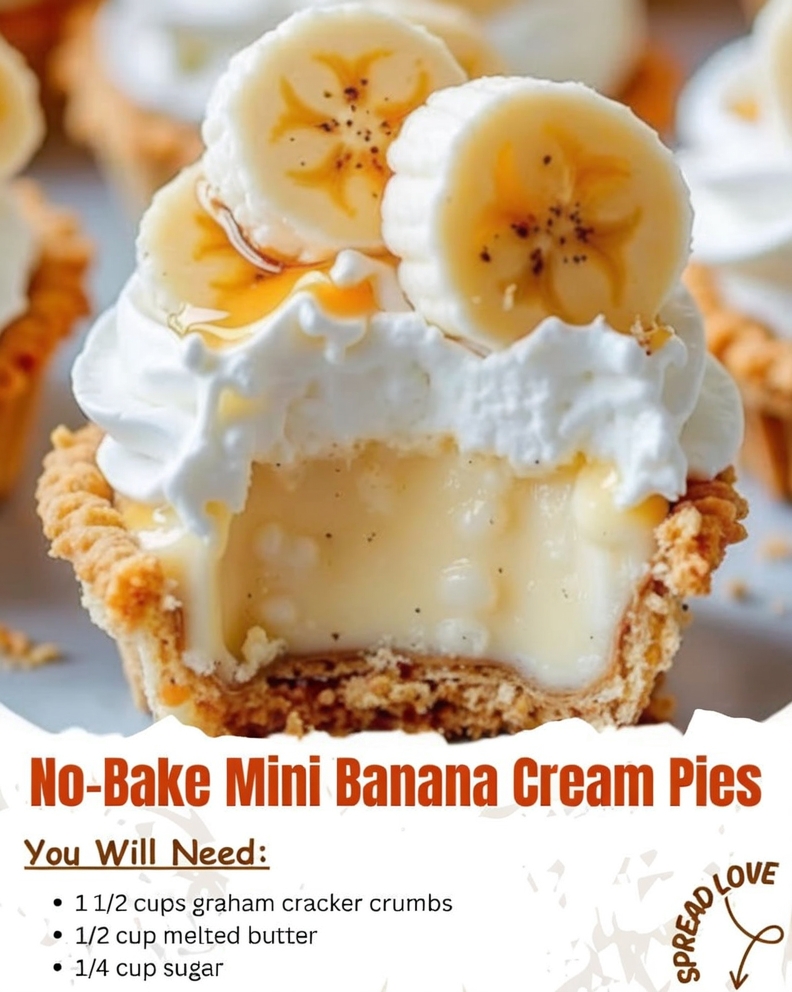
Finally, assembly! I slice the ripe bananas and place a few pieces into each set crust. Then, I divide the creamy filling among the cups, smoothing the tops. I dollop or pipe the remaining whipped cream on top of each one. The final touch is a delicate banana slice for garnish. Right here, you have to exercise a little patience—I cover them and refrigerate for at least 3-4 hours, or ideally overnight. The first time I made these, I only waited an hour and the crusts were too crumbly. The long, slow chill lets everything meld and firm up perfectly, making them neat enough to eat with your hands if you’re feeling adventurous.
Pro Tips for Best Results
My first batch taught me that timing is everything with bananas. Slice them directly into the crust right before you add the filling. If you slice them too early and let them sit out, they’ll brown and get mushy. I also learned to press the banana slices gently into the crust so they have good contact and don’t just float up when you add the filling. This little step ensures you get banana in every single bite, which is the whole point!
I tested the crust consistency three different ways. Too little butter, and it falls apart. Too much, and it’s greasy and heavy. The perfect test is to squeeze a handful of the crumb mixture; it should hold its shape firmly without dripping butter. If it doesn’t hold, add a touch more melted butter. If it feels slick, add a sprinkle more crumbs. Getting this right is the foundation of your mini pie, so take a moment here.
For the whipped cream, ensure your bowl and beaters are cold. I sometimes pop them in the freezer for 10 minutes before I start. This helps the cream whip up faster and higher. Stop at soft peaks for the portion you’re folding into the pudding—it incorporates more easily. For the topping, whip it to stiff peaks so it holds its beautiful shape. A splash of vanilla might seem small, but it rounds out the flavor and cuts the sweetness perfectly.
Common Mistakes to Avoid
The biggest mistake I made the first time was using under-ripe bananas. I was impatient and used firm, yellow ones. The flavor was so faint and almost a little grassy, completely lost against the sweet pudding and crust. Don’t do what I did! Wait for those brown speckles. They should smell strongly and sweetly of banana from a foot away. That’s your green light.
Another pitfall is not packing the crust firmly enough into the liners. A gentle press won’t cut it. You need to really press and compact the crumbs to form a solid, cohesive layer. I use the bottom of a small glass and apply some pressure. A loose crust will crumble the moment you try to peel the liner off, leaving you with a delicious but messy pile of ingredients instead of a neat, handheld pie.
Serving Suggestions
I love serving these straight from the fridge, chilled and refreshing. They’re perfect as individual desserts for a dinner party—just peel the liner and set each on a small plate. Sometimes, for a bit of texture contrast, I’ll offer a small bowl of extra graham cracker crumbs or a sprinkle of chopped toasted pecans or walnuts for guests to sprinkle on top. The crunch against the creamy filling is divine.
For a fun brunch or kids’ treat, I’ll sometimes skip the final whipped cream dollop and instead add a tiny drizzle of caramel or chocolate sauce. A light dusting of cinnamon or a few chocolate shavings also makes them feel extra special. They are rich, so one per person is usually plenty, but I always make a few extras because someone always asks for seconds!
(See the next page below to continue…)