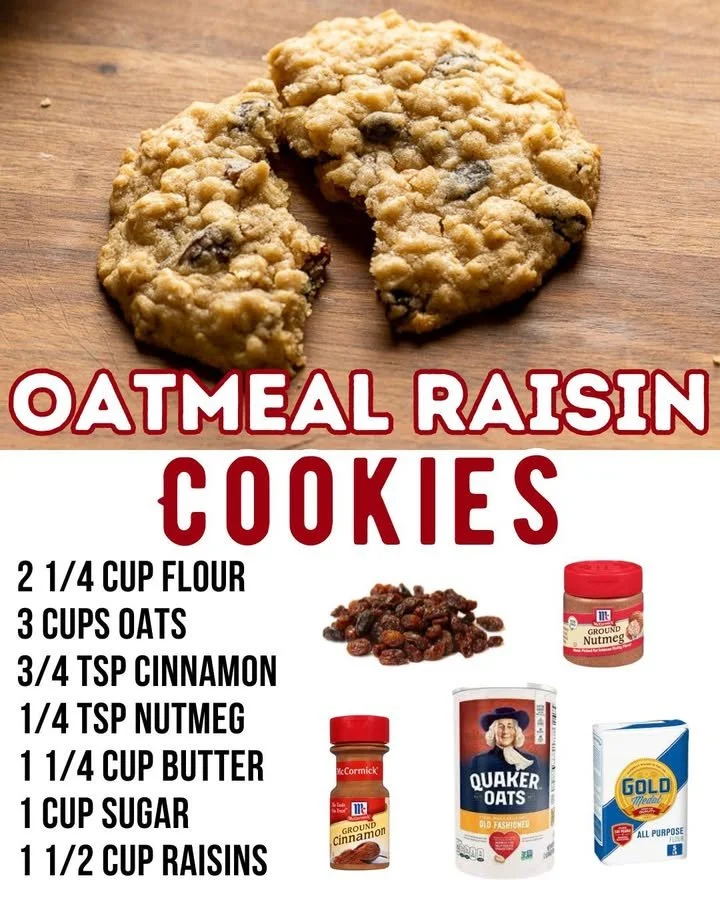
In another bowl, I fold in the oats and raisins, making sure they’re evenly distributed throughout the batter. The texture of the oats adds such a heartiness to the cookies, and the raisins introduce bursts of sweetness that are always a pleasant surprise. Once everything is combined, I use a cookie scoop or a tablespoon to drop rounded balls of dough onto a lined baking sheet, leaving plenty of space between them for spreading.
After that, I pop the cookie sheet into the preheated oven and bake for about 10-12 minutes until the edges are golden brown but the center is still slightly soft—trust me, that’s the secret to achieving the perfect chewiness. While they’re baking, my kitchen fills with an irresistible aroma that makes it hard to resist sneaking a taste before they’re even done. Once ready, I let them cool on a wire rack, relishing the moment of patience before indulging in my creations.
These cookies are best when enjoyed warm, so I always sneak one or two right away. You’ll find that they harden a bit as they cool down, but the texture stays satisfyingly chewy. There’s nothing quite like the feeling of biting into a warm oatmeal raisin cookie; it’s pure happiness in every bite!
Pro Tips for Best Results
I’ve tested this recipe a few ways, and one of the best tips I can share is to use old-fashioned oats instead of instant oats for a better texture. The old-fashioned oats hold up beautifully during baking, giving the cookies that nice chewy bite I love.
Another thing I like to do is to melt my butter just slightly, rather than creaming it cold from the fridge. It helps the sugar dissolve more efficiently, resulting in a wonderfully rich and buttery flavor. Just be careful not to over melt it—warm, not hot, is the goal.
Lastly, if you’re a fan of cinnamon, feel free to bump up the amount by a half teaspoon. It enhances the overall flavor profile of the cookies, creating a cozy, warm taste that’s perfect for those chilly days.
Common Mistakes to Avoid
One common mistake I’ve made in the past is overbaking the cookies. It’s so easy to forget about them while the delightful smell distracts me. If you see the edges turning brown, it’s best to take them out—even if the centers seem a little soft. They’ll continue to cook on the baking sheet once removed from the oven, yielding that satisfying chewiness.
Another pitfall is measuring the flour incorrectly. I’ve had cookies turn out too dry when I packed the flour in instead of spooning it into the measuring cup and leveling it off. Trust me: taking the time to measure correctly makes a world of difference in the texture of the final cookie!
I’ve also learned the hard way not to overmix the dough after adding the dry ingredients. It can develop gluten, leading to tougher cookies. A few gentle folds to combine is all that’s needed to maintain that tender bite.
Lastly, when dropping the dough on the baking sheet, remember that spacing is key. I’ve had a delightful batch of cookies turn into a giant cookie monster because I didn’t leave enough room between them! The dough spreads as it bakes, so give them some space!
(See the next page below to continue…)