Equipment Needed
- A large, heavy-bottomed pot or Dutch oven
- Vegetable peeler and corer (or a patient hand)
- Food mill, immersion blender, or standard blender
- Wooden spoon or sturdy spatula
- Sterilized canning jars with lids and bands
- Canning funnel
- Ladle
- Large pot for boiling water bath (if canning)
Step-by-Step Instructions
My process always starts with the rhythmic, almost meditative task of prepping the apples. I peel, core, and slice all six pounds—yes, it’s a commitment, but I put on some music and find it therapeutic. I add them to my biggest, heaviest Dutch oven along with the two cups of apple cider. The key here is to cook them over medium heat until they completely collapse. You want them so soft that a spoon meets no resistance. This usually takes about 25-30 minutes for me, and the kitchen starts to smell like the world’s best applesauce.
Once the apples are dreamily soft, it’s time to puree. I swear by my food mill because it ensures the smoothest, most seed-and-skin-free texture imaginable. If you’re using a blender, just work in batches and be careful with the hot apples. I once tried using a potato masher for a “rustic” texture, and while it was tasty, it wasn’t the classic, silky spread I was after. After pureeing, I return every last bit of that beautiful apple mash to the pot.
Now comes the alchemy. I stir in the sugar and spices—the cinnamon, cloves, and allspice. The mixture will look loose and watery, but don’t panic. This is where patience is your most important ingredient. I lower the heat to the barest simmer. You must stir it often, especially as it thickens, to prevent any scorching on the bottom. I learned the hard way that walking away for even 20 minutes can lead to a burnt layer that ruins the whole batch. I let it bubble gently for 2 to 3 hours, watching it slowly reduce and deepen into a glorious, dark caramel color.
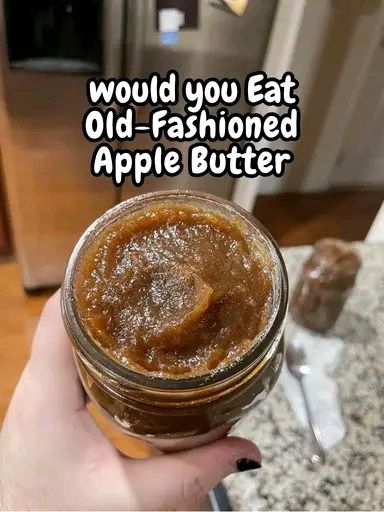
I use the classic plate test to know when it’s done. I spoon a small amount onto a chilled plate, wait a minute, and then run my finger through it. If the line holds and no liquid seeps back, it’s ready. The alternative oven method (baking at 300°F, stirring every 30 minutes) is fantastic if you’re worried about scorching—it’s more hands-off and gives an even, deep caramelization. For canning, I immediately ladle the hot butter into my sterilized jars, wipe the rims, seal, and process in a boiling water bath for 10 minutes. The ping of the lids sealing is the most satisfying sound in the world.(See the next page below to continue…)