Step-by-Step Instructions
First, we prep our apples. This is the most hands-on part. After peeling and slicing them into about 1/4-inch thick slices, I toss them directly into the baking dish. No need for a separate bowl here—we’re keeping it simple. I sprinkle them with just a tiny dusting of the cinnamon from the recipe, maybe an extra pinch, and give them a gentle toss right in the dish. This lets the apples start mingling with the spice while you make the topping. You’ll notice the kitchen already starting to smell incredible.
Next, let’s make that iconic crisp topping. In your medium bowl, whisk together the flour, sugar, baking powder, the remaining cinnamon, and that crucial pinch of salt. Once it’s combined, pour in the beaten egg. Here’s where it gets fun: use a fork or your fingers to work the egg into the dry ingredients. It will look crumbly and a bit dry at first—that’s perfect! It should resemble coarse sand with some pebble-sized clumps. I’ve tried mixing this with a spoon, and using a fork (or clean fingers) genuinely gives you better, more varied clumps for the ultimate crispy-to-soft ratio.
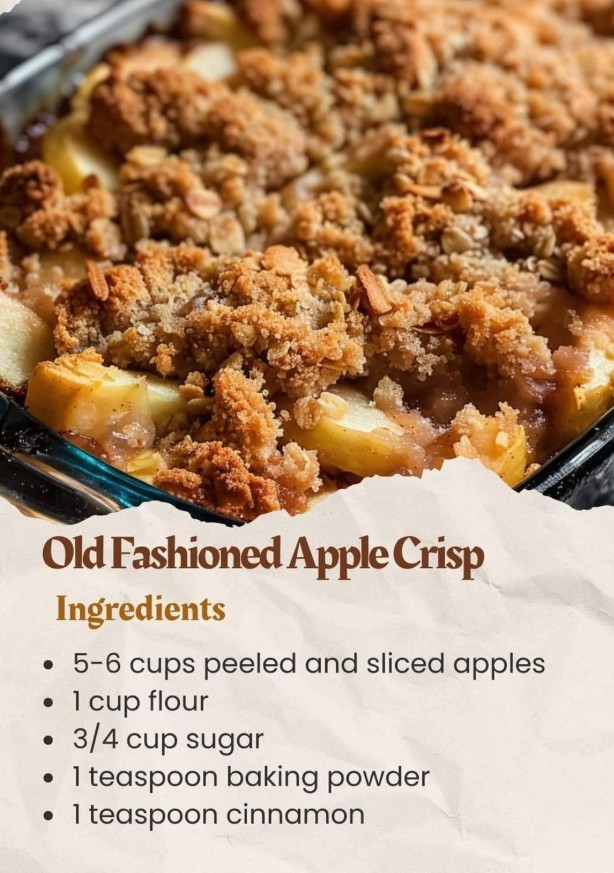
Finally, pour the melted butter over the crumbly flour mixture. Stir it with a spatula until everything is just moistened and clumping together beautifully. Now, take handfuls of this mixture and crumble it evenly over your waiting apples. Don’t press it down! We want it loose and craggy for maximum crunch. Pop it into a preheated 350°F (175°C) oven. The wait is the hardest part. Bake for 40-45 minutes, until the topping is a deep golden brown and you can see the apple juices bubbling furiously around the edges. That bubbling is your signal it’s done.
Pro Tips for Best Results
My first tip is all about the apples. After years of testing, I found that slicing them uniformly is more important than you think. If some pieces are paper-thin and others are chunky, they’ll cook at wildly different rates. Aim for that 1/4-inch thickness. I use an apple corer/slicer tool when I’m making a big batch—it’s a lifesaver for consistency and speed. And don’t worry about the apples turning brown while you work; the lemon juice often suggested isn’t necessary here since they’re going straight into the oven.
The texture of the topping is everything. The biggest lesson I learned? Resist the urge to over-mix after adding the butter. You want to stir just until no dry flour remains. If you keep going, you’ll develop the gluten in the flour and the topping can become a bit tough and pasty instead of delightfully crisp and tender. Those irregular, shaggy clumps are what create the perfect contrast of crispy bits and soft, buttery pockets.
Finally, be patient and let it rest. I know it’s tempting to dive in the second it leaves the oven, but trust me on this. Let your crisp sit for at least 20-30 minutes before serving. This allows the bubbling, lava-hot apple filling to thicken slightly into a luxurious sauce. If you cut in too soon, the filling will run everywhere. That resting time is the difference between a soupy mess and a perfect, scoopable serving that holds its shape.
Common Mistakes to Avoid
One mistake I made early on was packing the topping down onto the apples. I thought it would make it more cohesive. Instead, it steamed the topping from the bottom and created a dense, almost doughy layer. The key is a light, loose sprinkle. Think of it as creating a gravel path over the apples, not tamping down pavement. Let the heat circulate freely for that perfect crunch.
(See the next page below to continue…)