Step-by-Step Instructions
The process begins in your saucepan. Combine both sugars, the butter, and the milk, and stir over medium heat just until everything melts together. Once it’s a uniform, bubbling liquid, stop stirring. This is key—constant stirring can cause crystallization, making your fudge gritty. Just let it bubble away and attach your candy thermometer. This is where patience comes in. You’re waiting for it to reach the soft-ball stage, 235°F to 240°F. It took about 10-12 minutes in my kitchen, but watch the thermometer, not the clock. The aroma is divine, like sweet caramelizing sugar.
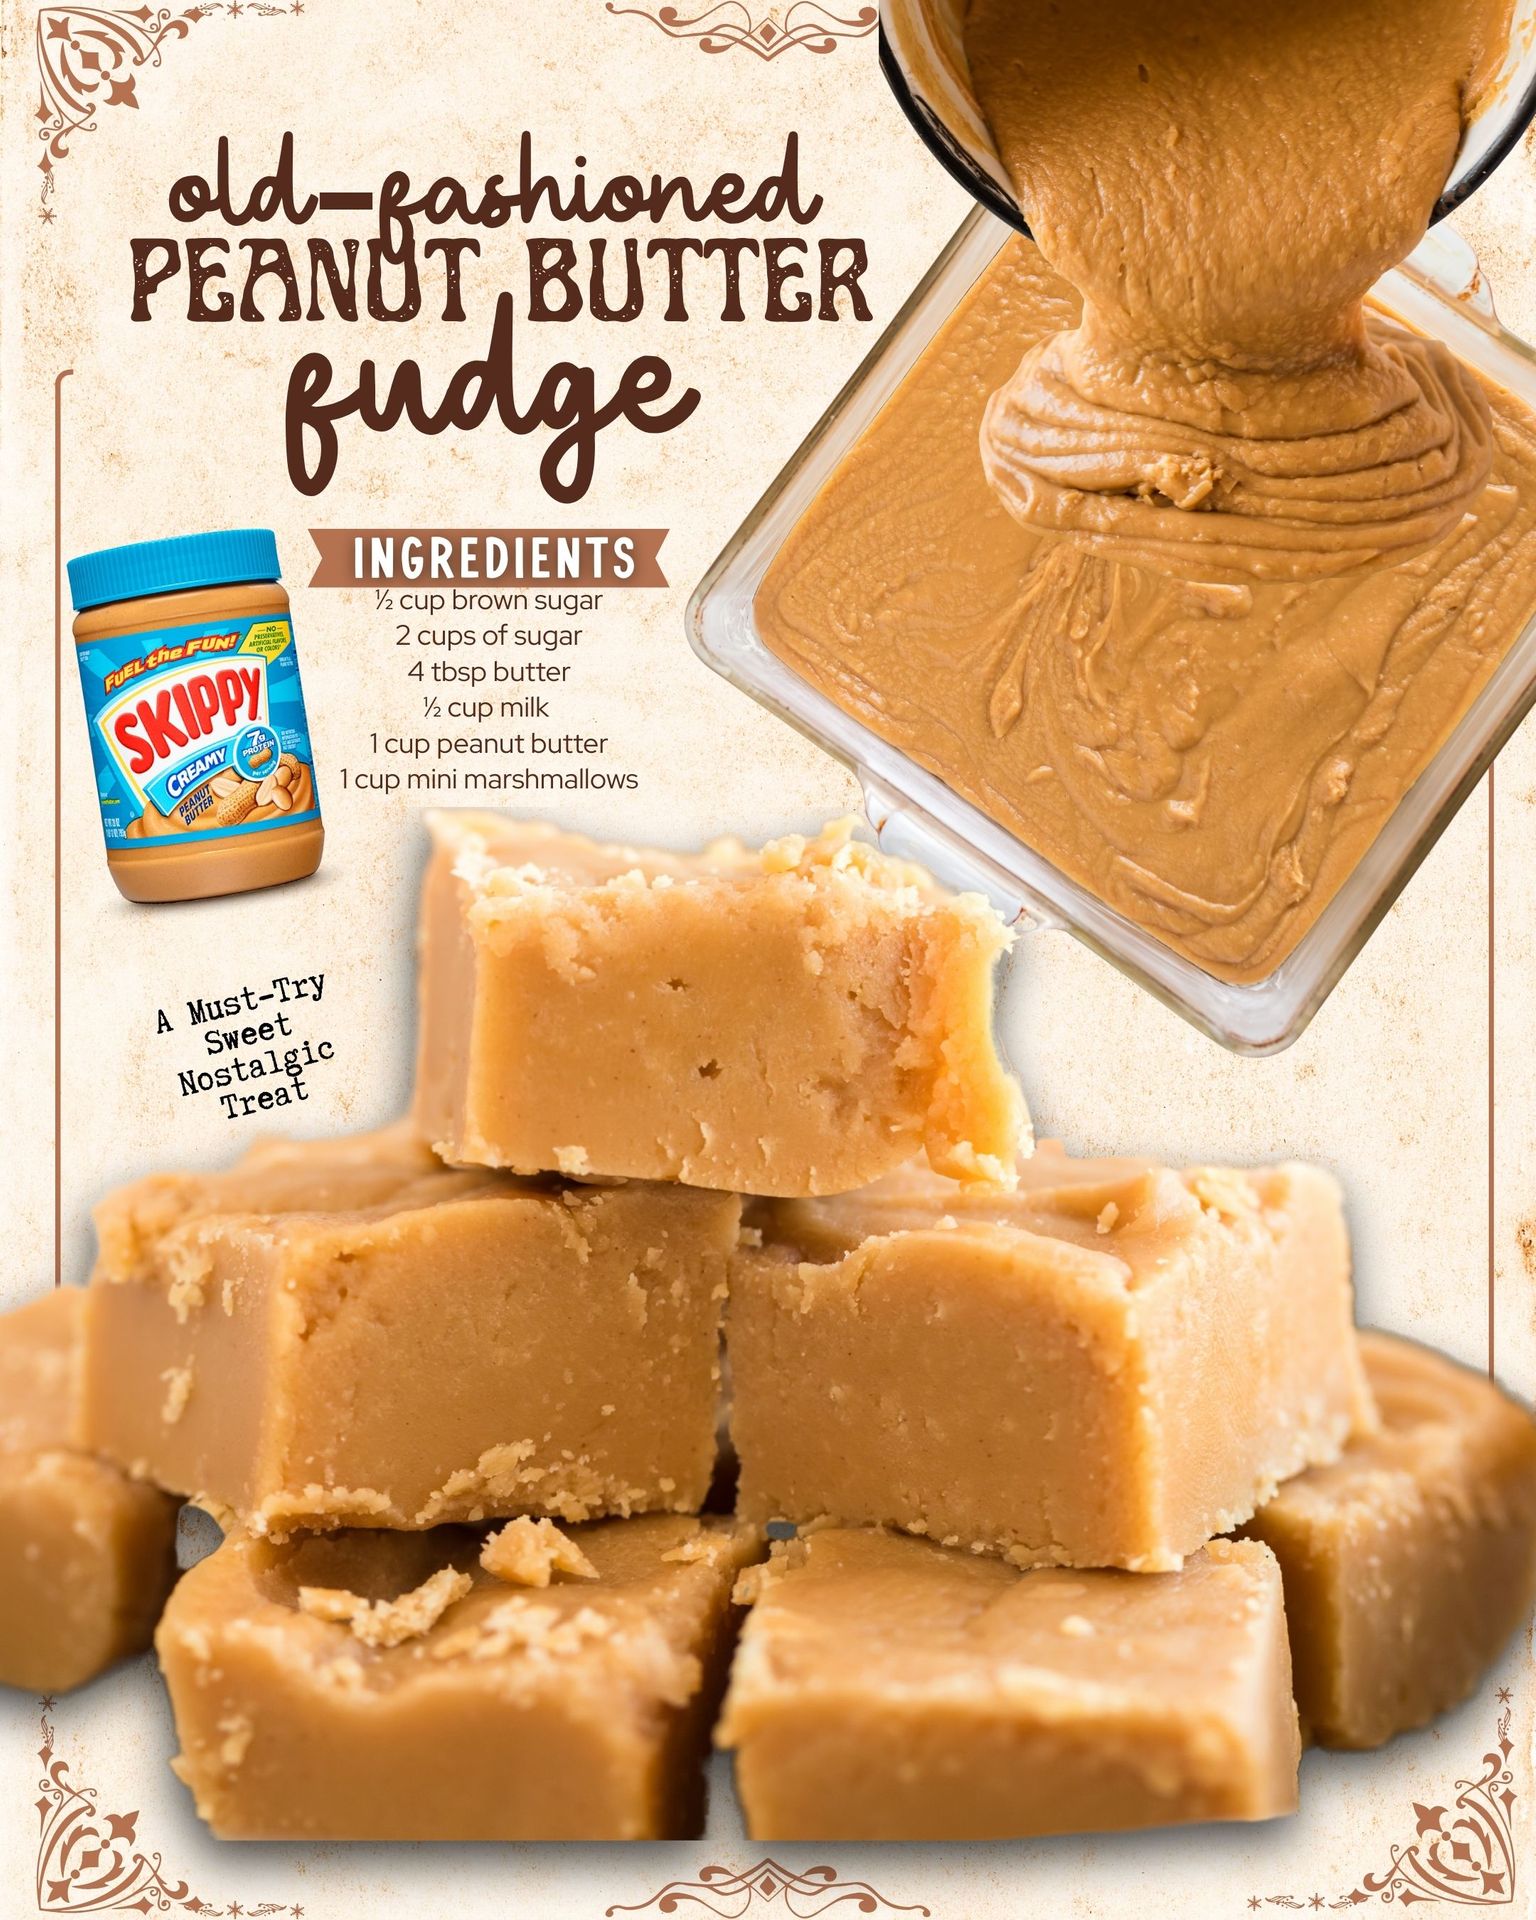
As soon as that needle hits 235°F, pull the pot off the heat immediately. Now, working quickly but carefully, pour the hot syrup into your mixing bowl. Don’t scrape the saucepan—any sugary bits on the sides could seed crystals. Immediately add the entire cup of peanut butter and the mini marshmallows. Now, start beating. I use my wooden spoon and put some real muscle into it. You’ll watch it transform from a loose, glossy mixture to a thick, matte, and slightly stiff batter. This takes a solid 2-3 minutes of vigorous stirring. Your arm will feel it, but trust the process!
The moment it thickens and loses its sheen, pour it swiftly into your prepared pan. Don’t dawdle; it sets fast. Spread it into an even layer with your spoon or spatula. I usually give the pan a few firm taps on the counter to settle any air bubbles. Now, the hardest part: walk away. Let it cool completely at room temperature. I know it’s tempting to cut into it warm, but if you do, it will squish and not hold its shape. I set a timer for two hours and busy myself with cleaning up—which, thankfully, is easy since that marshmallow made everything so non-stick!
Pro Tips for Best Results
My first tip is all about temperature. Calibrate your candy thermometer before you start by checking it in boiling water; it should read 212°F. If it’s off by a few degrees, you’ll know to adjust. I didn’t do this once and wondered why my fudge was too soft—turns out my thermometer was reading 5 degrees low! Secondly, have everything measured and ready to go before you turn on the stove (the French call this mise en place). Once the syrup hits temperature, you have no time to fumble with measuring cups. I line up my peanut butter and marshmallows right by the bowl.
The beating stage is where the magic texture is born. I’ve tried using a hand mixer, and while it’s faster, it can incorporate too much air. The old-fashioned arm-power method gives you that dense, velvety fudge you’re after. Beat until you see a very distinct change: the mixture will go from looking thin and poufy to becoming thick, dull, and beginning to hold its shape in the bowl. When you drag the spoon through, the path should hold for a second before slowly melting back.
Finally, for the cleanest cuts, use a large, sharp chef’s knife. Run it under very hot water, wipe it dry, and make your slice in one confident downward motion. Wipe the blade clean and reheat it between each cut. This gives you those gorgeous, professional-looking squares with sharp edges, not crumbly ones. I used to just hack into the pan and ended up with more fragments than fudge squares!
(See the next page below to continue…)