Step-by-Step Instructions
First, we build our flavor base. Pat your sliced steak very dry—this is crucial for a good sear—and season it generously. Heat the oil and butter in your big pan over medium-high heat. When the butter froths, add the steak in a single layer. Resist the urge to move it around! Let it get a beautiful brown crust, about 2-3 minutes per side. I learned the hard way that stirring too soon just releases liquid and steams the meat. Remove the beef to a plate; it will not be fully cooked, and that’s perfectly fine. In those delicious browned bits left behind, add your sliced onions and peppers with a pinch of salt. The sizzle and scent are heavenly. Cook them, stirring occasionally, until they’re soft and starting to caramelize at the edges, about 8-10 minutes. This step builds the soul of the dish.
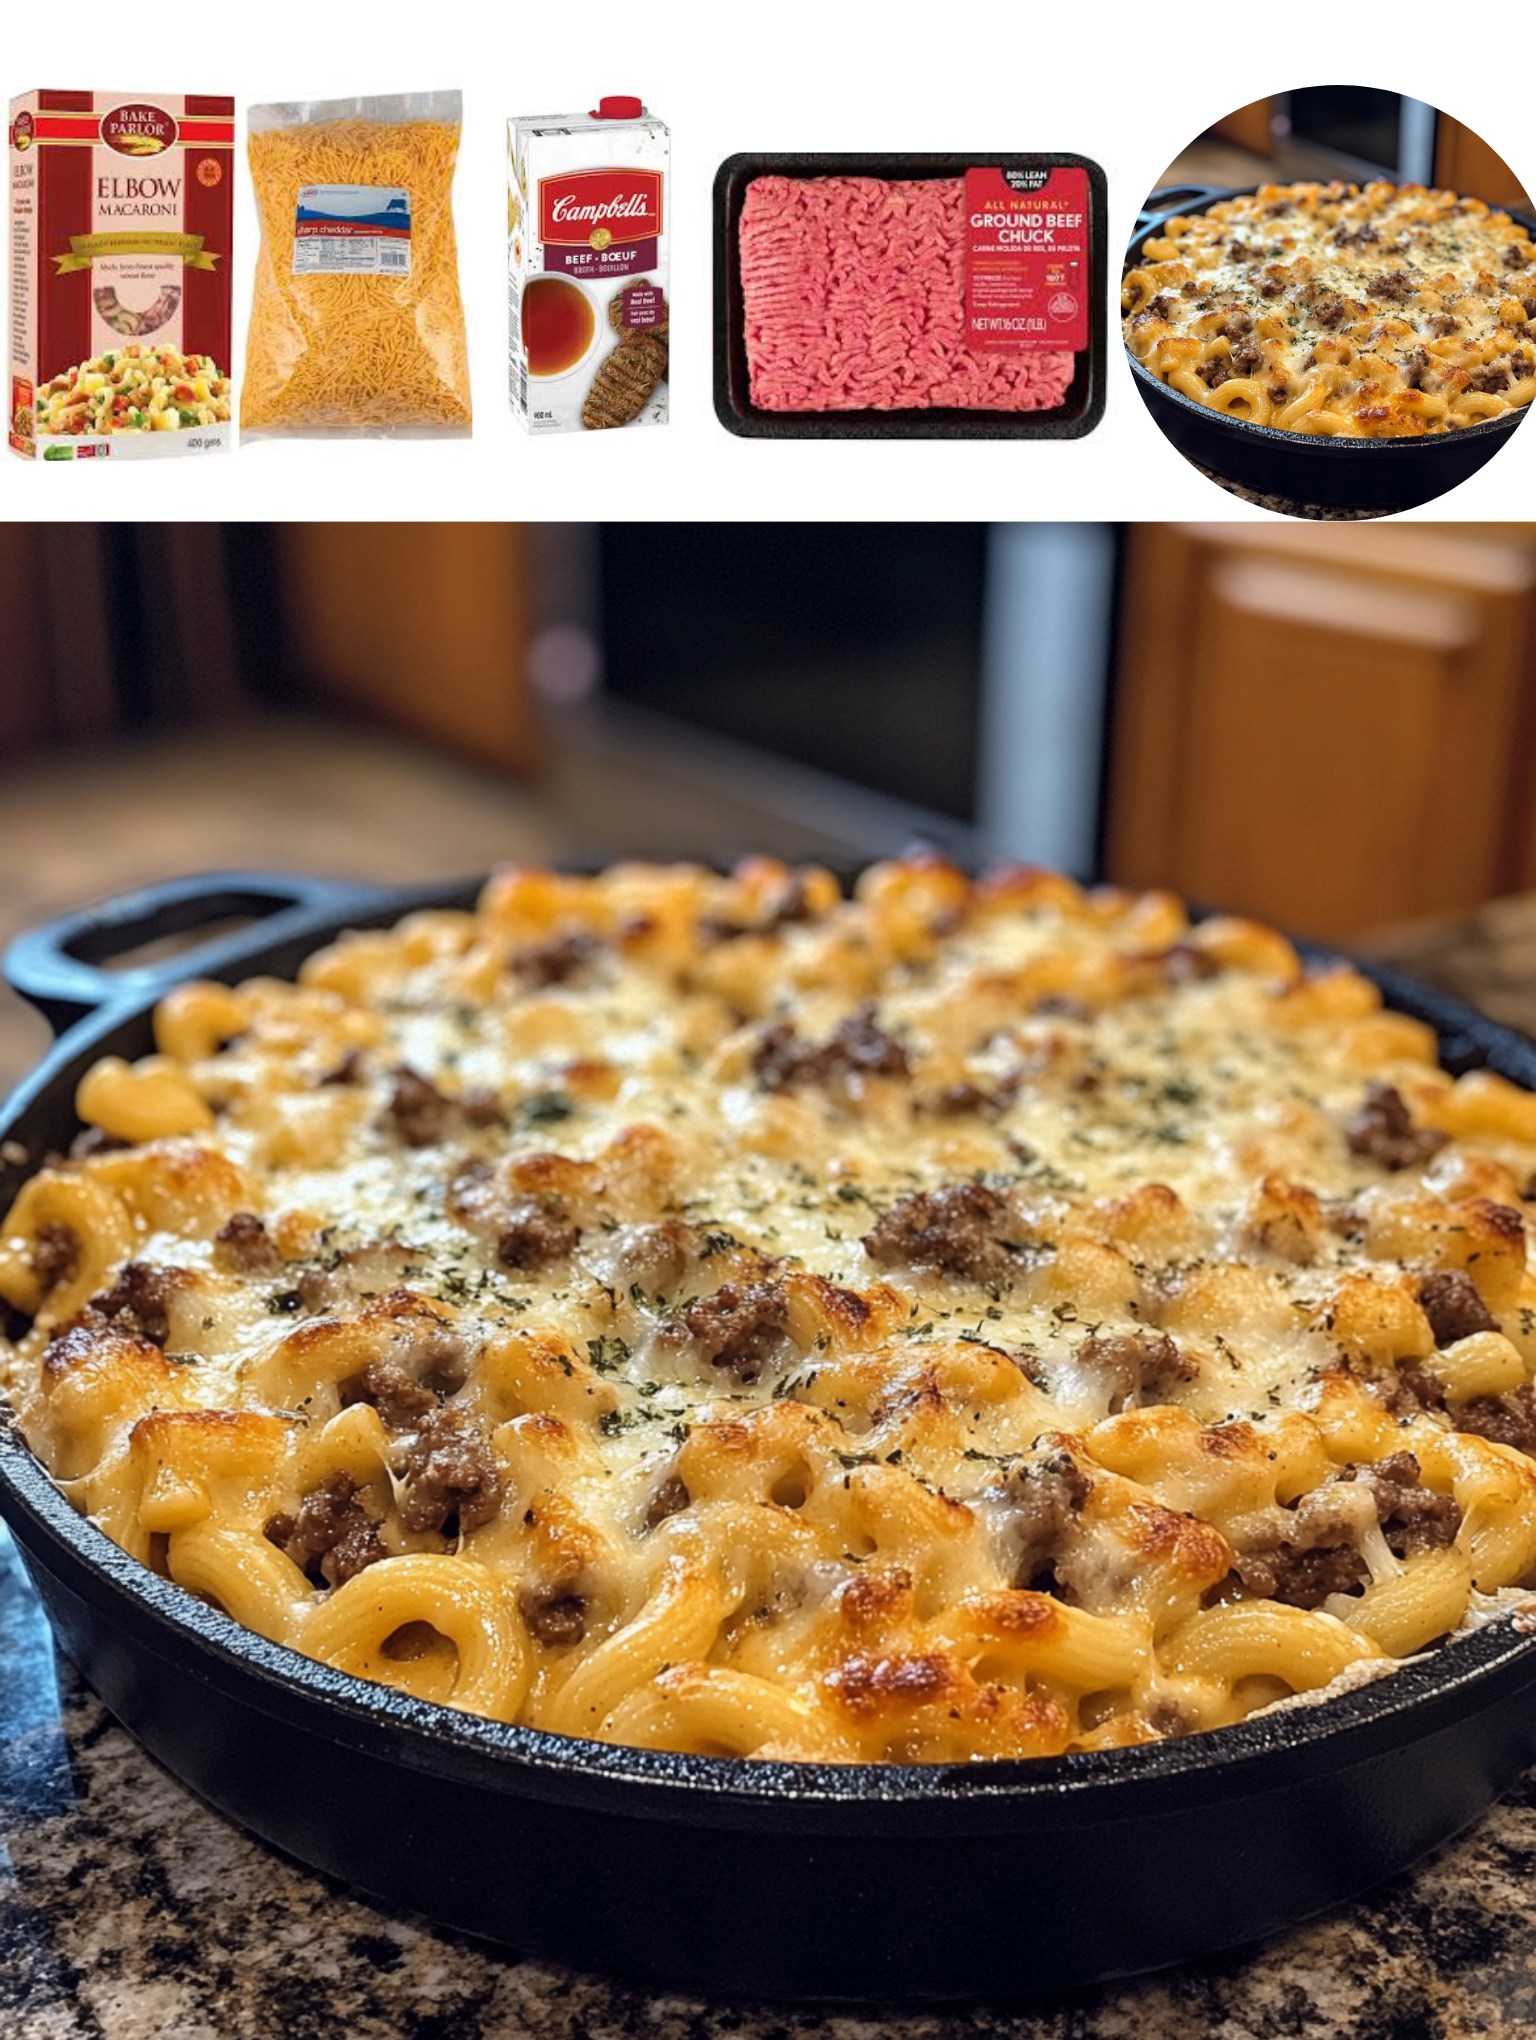
Now, for the magical one-pot pasta moment. To the softened veggies, add the dry elbow macaroni, beef broth, heavy cream, Worcestershire sauce, garlic powder, and smoked paprika. Give it a good stir, scraping up any last bits of flavor from the pan bottom. Bring it to a lively simmer, then immediately reduce the heat to low and cover it tightly with a lid. This is where you must trust the process. Set a timer for 12 minutes and let it be. No peeking! I’ve tried this both with and without the tight lid, and the covered method cooks the pasta evenly and prevents too much liquid from evaporating, which we need for our sauce.
After 12 minutes, your pasta should be tender and the liquid creamy. Turn off the heat. Now, the grand finale: the cheese. Sprinkle in your shredded provolone and cheddar in handfuls, stirring constantly and smoothly. The residual heat will melt it into a luxuriously creamy sauce. Don’t rush this—add the cheese gradually for the smoothest texture. Finally, gently fold the seared beef and any accumulated juices back into the cheesy macaroni. Let it sit for a minute off the heat to warm the beef through. Give it a final taste—I usually add another crack of black pepper right here—and prepare to be amazed.
Pro Tips for Best Results
Slice your steak as thinly as humanly possible, and always against the grain. I pop mine into the freezer for about 20-30 minutes before slicing; it firms up just enough to make paper-thin slices a breeze. This not only ensures quick cooking and maximum sear but also makes every bite tender. If you’re using pre-shaved beef, break it up as you add it to the pan so it doesn’t clump together. The surface area is your friend for flavor!
The doneness of your vegetables is personal, but I implore you to take the time to let them truly soften and sweeten. I tested this by rushing them once, and the resulting dish lacked that foundational savory-sweet note. Let them cook until they’re slumped and friendly in the pan. Also, when you add the liquid, make sure it’s cool or room temperature broth and cream. Adding icy-cold liquid to a hot pan can shock the ingredients and affect cooking time.
The cheese sauce success hinges on two things: low heat and patience. Once you turn off the burner, let the pan cool for just a minute before adding the cheese. Adding cheese to a violently hot liquid can cause it to separate and become oily. Stir with a confident, gentle hand until you achieve that perfect, velvety cohesion. If your sauce seems too thick, a splash of warm broth or milk will loosen it right up.
Common Mistakes to Avoid
My biggest first-time mistake was crowding the pan with the steak. In my eagerness, I dumped the whole pound in at once. It created so much steam that the beef boiled in its own juices instead of browning. We lost that deep, caramelized flavor, and the texture was off. Do yourself a favor and cook the beef in two batches if your pan isn’t gigantic. It feels like an extra step, but it’s the difference between good and spectacular.
(See the next page below to continue…)