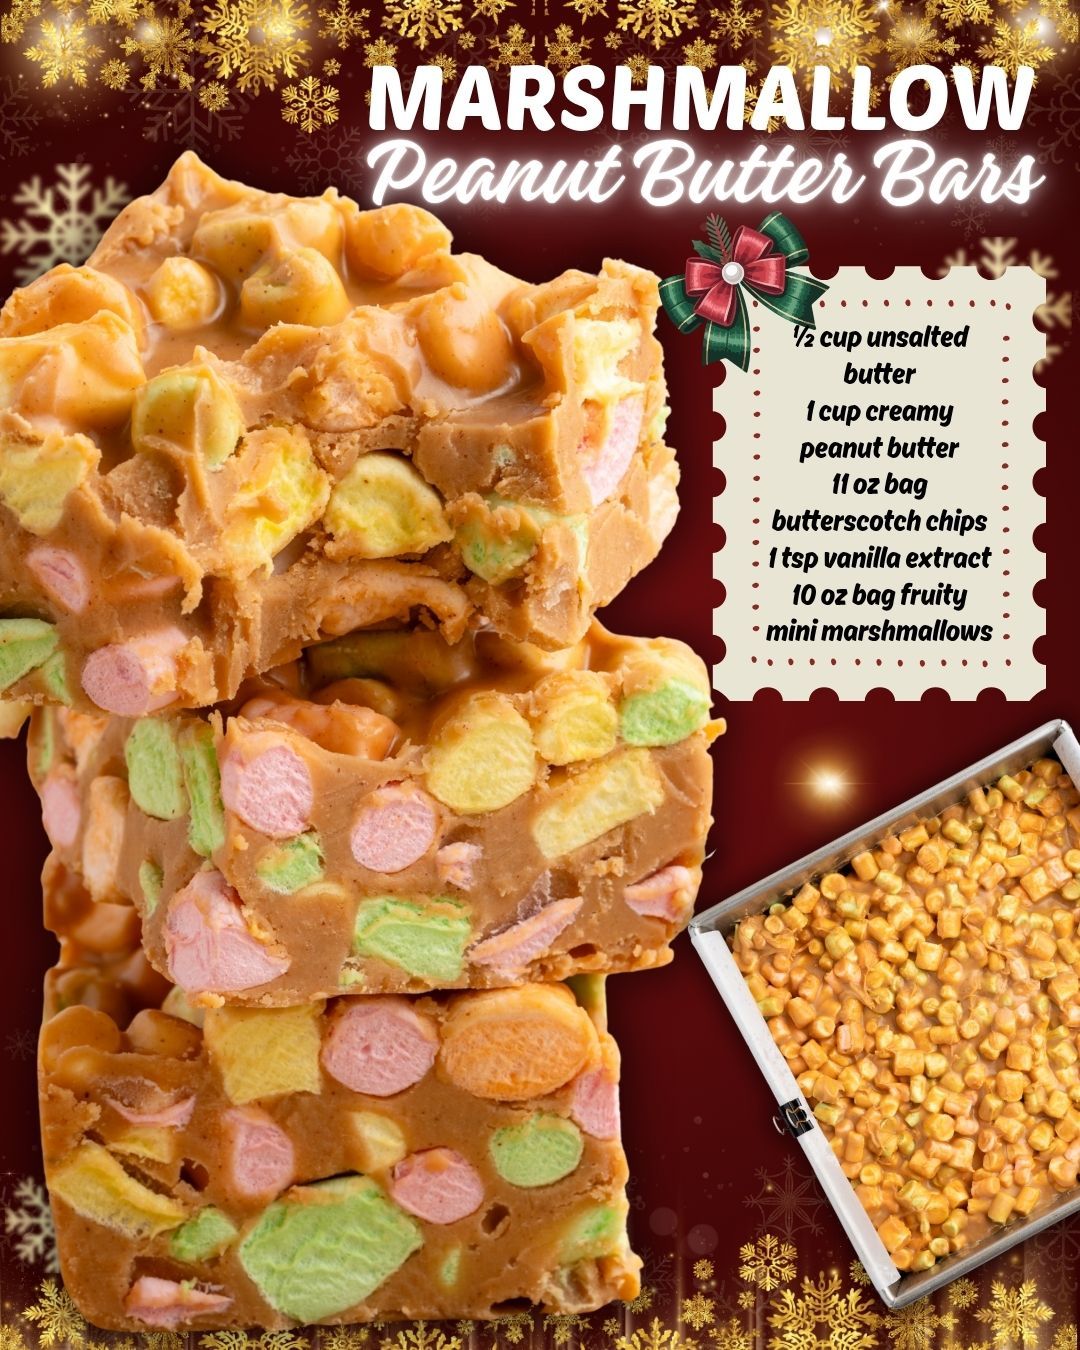
Once everything is completely melted and unified, pull the saucepan off the heat. Immediately stir in that one teaspoon of vanilla extract. It will sizzle and perfume the whole mixture, deepening the flavor beautifully. Now, working quickly but carefully, pour this luscious peanut butter mixture into your prepared pan. Use your spatula to spread it into an even layer, getting right into the corners. I like to give the pan a gentle tap on the counter to settle it.
Here comes the fun, signature step: immediately take your entire bag of fruity mini marshmallows and scatter them evenly over the hot surface. Don’t wait! The residual heat is what starts to gently melt and adhere them. Now, gently but firmly press the marshmallows down into the base with clean hands or the bottom of a flat measuring cup. You’re not mixing them in, just embedding them. Then, walk away. Let the pan sit at room temperature for at least 2 hours, or until the base is completely firm. The waiting is the hardest part!
Pro Tips for Best Results
First, temperature control is everything. I tested this three different ways: high heat (scorched), microwave (separated and weird), and the slow, steady stovetop method. The low and slow melt is the only way to achieve that silky-smooth, fudgy base texture. If you see tiny lumps of unmelted butterscotch, just keep stirring gently over low heat; they will dissolve. Rushing this step is the number one reason for less-than-perfect bars.
Second, press those marshmallows in while the base is piping hot. I once got distracted and let the base cool for five minutes before adding the marshmallows. They just sat on top and never properly adhered, falling off in sheets when I cut them. The immediate, warm contact creates a seamless bond as it all sets together. Use the palm of your hand to press evenly for the best attachment.
Finally, for the cleanest cuts, I have a two-step method. First, use the parchment paper to lift the whole block onto a cutting board. Then, take a large, sharp chef’s knife and run it under very hot water, wiping it dry before each slice. The warm blade glides through the firm peanut butter layer and marshmallows like a dream, giving you those stunning, clean-edged bars you see in photos. A cold knife will drag and tear.
Common Mistakes to Avoid
The biggest mistake I made the first time was using salted butter. The recipe calls for unsalted for a crucial reason: between the peanut butter and the butterscotch chips, there’s already enough salt to balance the sweetness. Using salted butter made my first batch overwhelmingly salty. Don’t do what I did! Stick with unsalted so you’re in complete control of the flavor profile.
Another common pitfall is trying to speed up the setting process by putting the pan in the refrigerator. I know it’s tempting, but it causes the top to “sweat” and the marshmallows to become weirdly sticky and damp when they come back to room temperature. Trust the process and let it set on the counter. The texture will be perfect—firm yet yielding—and the marshmallows will stay delightfully soft and chewy.
(See the next page below to continue…)