Equipment Needed
- Electric hand mixer or stand mixer
- Large mixing bowl
- Medium mixing bowl
- Whisk
- Measuring cups and spoons
- Baking sheets
- Parchment paper or silicone baking mats
- Wire cooling rack
Step-by-Step Instructions
The journey begins with the creaming process, which is the heart of a good cookie. In my large bowl, I combine that beautifully softened unsalted butter with the creamy peanut butter and packed brown sugar. I beat them together on medium speed for a good two to three minutes, until the mixture is light, fluffy, and has visibly paled in color. This step is crucial for incorporating air—it’s what gives the cookies their tender structure. Then, I beat in the single egg and that splash of vanilla extract until everything is just combined and silky smooth. The smell at this stage is already heavenly.
While that’s happening, I whisk together the dry ingredients in my other bowl. I always take an extra second to whisk the flour, baking soda, baking powder, and salt together myself, even though it’s a pain. This ensures the leavening agents are evenly distributed, preventing any odd bitter spots in the finished cookies. With the mixer on low, I gradually add the flour mixture to the peanut butter mixture in about three additions. I stop mixing the second the last bit of flour disappears; overmixing is the enemy of a tender cookie. The dough will be soft, slightly sticky, and absolutely irresistible—I may or may not sneak a spoonful.
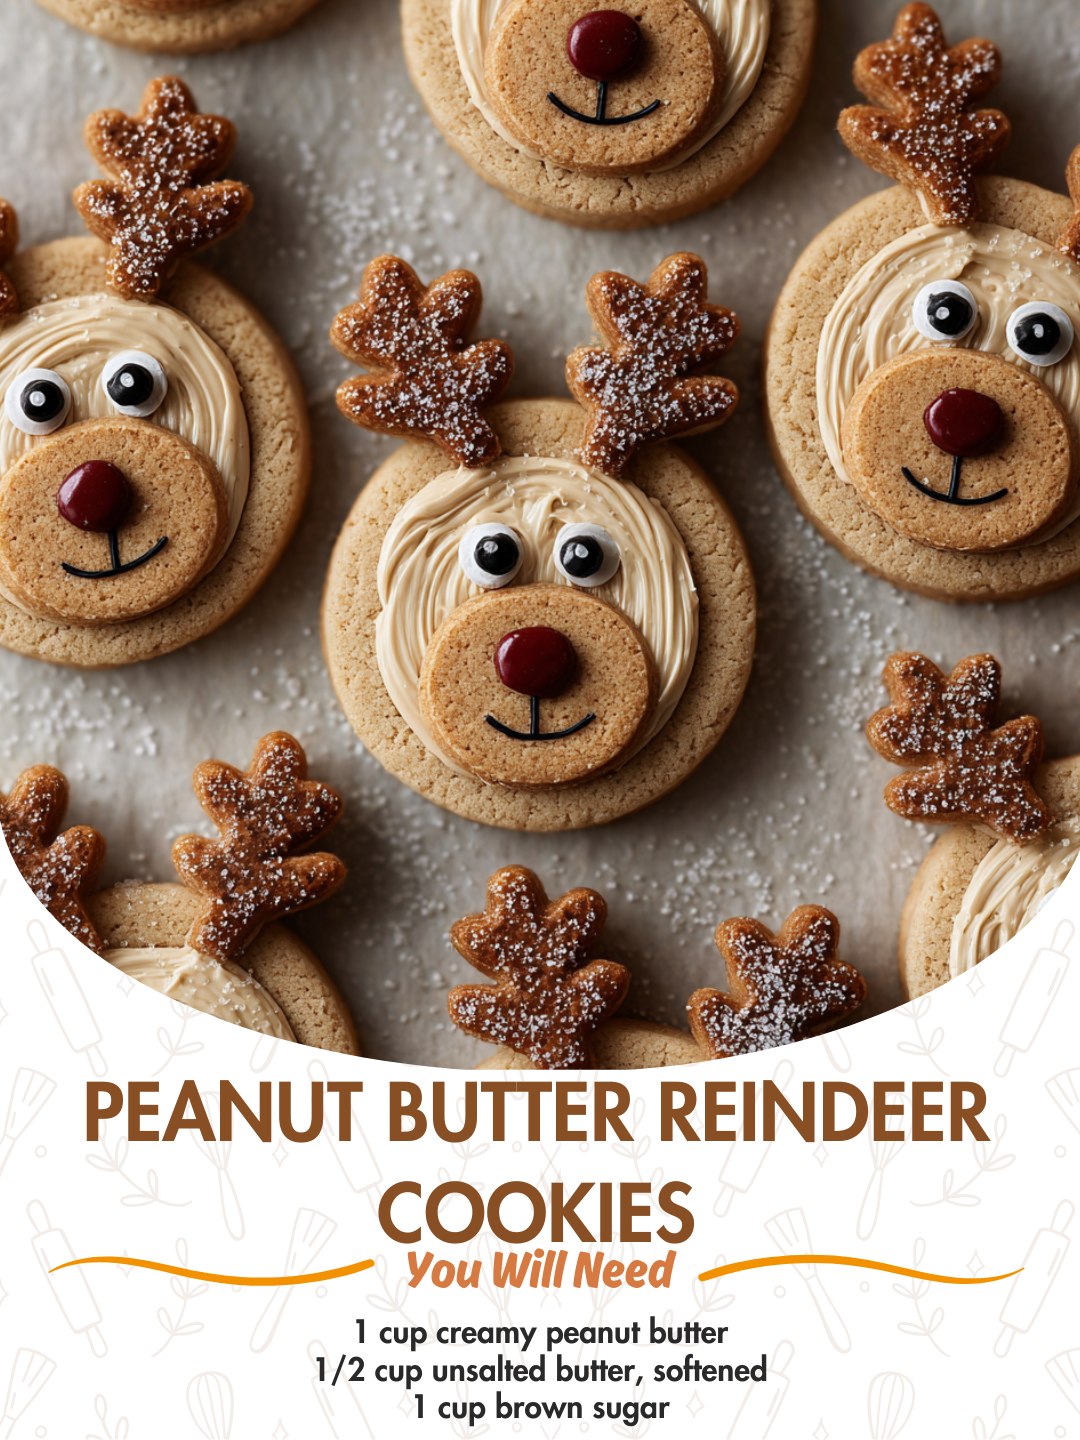
Now for the fun, creative part: shaping the reindeer. I preheat my oven to 350°F (175°C) and line my baking sheets with parchment paper. I scoop the dough using a rounded tablespoon measure, rolling each portion into a smooth ball between my palms. Placing them about two inches apart on the sheet, I gently press down to flatten each ball just slightly into a thick disc. This is the cookie’s “face.” Immediately, I press two mini pretzel twists into the top for antlers—press firmly enough that they’re anchored, but not so hard that the cookie cracks. I learned to do this before baking, as the pretzels won’t stick well to a hot, baked cookie.
The final touch is adding the face. I don’t wait; I carefully press a red M&M onto the lower center of each dough ball for the iconic Rudolph nose, and two mini chocolate chips (pointy-side down for eyes, or candy eyes) above it. Then, straight into the oven they go for 8 to 10 minutes. The key is to pull them out when the edges are just set and very lightly golden—the centers will still look soft. They continue to cook on the hot sheet. I let them cool on the baking sheet for a full 5 minutes before transferring them to a wire rack. This patience prevents the antlers from snapping and lets the cookies set up perfectly.(See the next page below to continue…)