Pro Tips for Best Results
I tested the cooking temperature three different ways, and the low-and-slow method is non-negotiable. Medium-low heat allows the tortilla to crisp up gradually while giving the cheese ample time to melt completely into a gooey pool. If your skillet is too hot, you’ll get a burnt shell and cold filling. Trust me, patience here pays off in texture.
For the ultimate cheese pull and structural integrity, don’t overfill! It’s so tempting to pile in more cheese and pepperoni, but a single, even layer of each is all you need. An overstuffed quesadilla is impossible to flip neatly and almost guaranteed to burst open, creating a cheesy mess on your skillet that burns and smokes. A moderate hand ensures every bite is balanced and every flip is flawless.
Here’s a little secret I picked up: if you’re making more than two, keep your finished ones warm and crisp in a 200°F oven on a wire rack. This prevents the steam from making the bottom tortilla soggy. I just slide them right onto the rack in the oven as I finish each one. When the last quesadilla is done, they’re all perfectly warm and crisp for a family-style serving.
Common Mistakes to Avoid
The first time I made these, I made the classic mistake of using cold tortillas straight from the fridge. They were stiff and cracked when I tried to fold them, creating a leaky seam. I learned to let them sit on the counter for 10-15 minutes to become pliable, or even better, to warm them briefly in a dry skillet for 10 seconds per side before assembling. This makes them soft, flexible, and much less likely to tear.
Another pitfall is the flip of doom. Don’t try to flip your quesadilla too early! If you try to move it before the cheese has melted enough to “glue” the two sides together, the filling will shift and fall out into the pan. Wait for that visual cue of melted cheese bubbling at the edges and that deep golden color on the bottom. A confident, single-motion flip with a good spatula is the key to a picture-perfect result.
Serving Suggestions
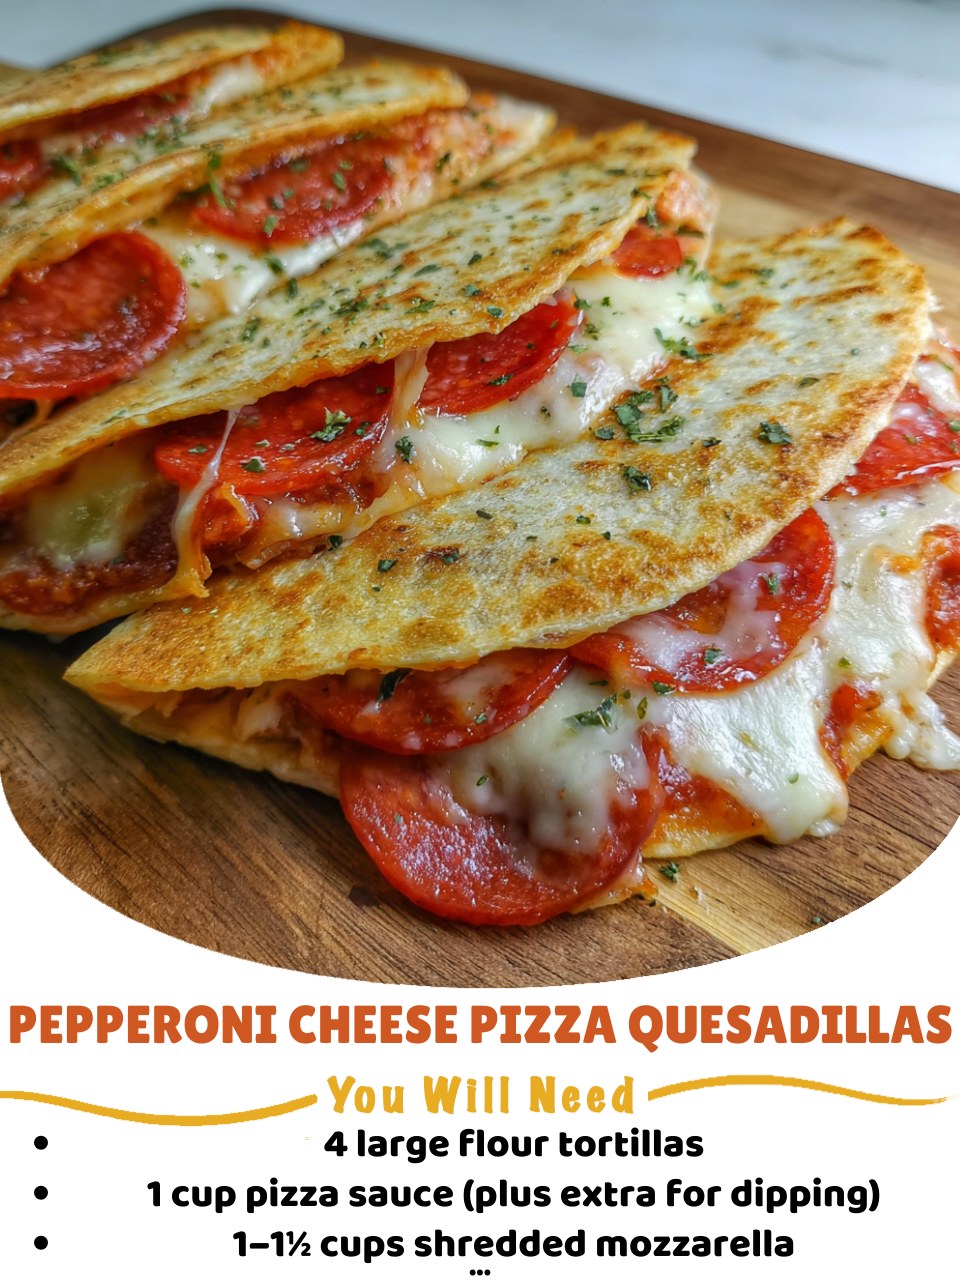
I like serving these quesadillas fresh from the skillet on a big wooden board, cut into triangles and fanned out for easy grabbing. A small bowl of warm pizza sauce for dipping is absolutely essential—it doubles down on that pizza flavor and adds a lovely moisture. For a casual weeknight, that’s often all we need, and it’s perfection.
When I want to make it feel more like a complete meal, I turn to sides. A simple, crisp romaine salad with a sharp Italian vinaigrette cuts through the richness beautifully. My kids, however, are forever fans of serving these with a side of garlic butter noodles or a small bowl of warm marinara for extra dipping. It’s a carb-loaded delight they adore.
For a fun game-day spread or party appetizer, I’ll cut each quesadilla into six smaller triangles instead of three. They become fantastic finger food. I arrange them around bowls of not just pizza sauce, but also cool ranch dressing for dipping and maybe a dish of pickled jalapeño slices for those who want a kick. It’s always the first platter to empty.
Variations & Customizations
The beauty of this recipe is its canvas-like quality. One of my favorite spins is a “Supreme” version. I’ll add very finely diced green bell pepper, red onion, and sliced black olives to the cheese mix. A crucial tip here: sauté the diced veggies for just a minute or two to soften them first and release excess water. I made the mistake of using them raw once, and they made the tortilla soggy.
For a meat-lover’s dream, I’ve mixed in some cooked Italian sausage crumbles or even some chopped ham with the pepperoni. If you’re looking for a veggie option, skip the pepperoni and load up with sautéed mushrooms, spinach (thoroughly wrung dry!), and artichoke hearts. A sprinkle of red pepper flakes in the cheese blend adds a lovely warmth.
You can also play with the “pizza” flavor profile entirely. I’ve made a fantastic Buffalo Chicken version using shredded rotisserie chicken tossed in Buffalo sauce with mozzarella and blue cheese crumbles. Another success was a BBQ Chicken style, with shredded chicken, red onion, mozzarella, and a drizzle of barbecue sauce instead of pizza sauce. The basic technique remains your trusty guide.
How to Store, Freeze & Reheat
Honestly, these are best enjoyed immediately, but if you have leftovers, let them cool completely on a wire rack. Then, store them in a single layer in an airtight container in the fridge for up to 2 days. Do not stack them or wrap them in plastic while still warm—this traps steam and creates a soggy, sad tortilla. I’ve learned this the hard way.
To reheat, skip the microwave if you want to preserve any crispness (it will turn them rubbery). Instead, re-crisp them in a dry skillet over medium heat for 1-2 minutes per side, or place them on a baking sheet in a 375°F oven for about 8-10 minutes until hot and crispy again. They can also be frozen after cooling. Wrap each quesadilla individually in parchment paper and then foil, and freeze for up to 2 months. Reheat from frozen in the oven at 375°F for 15-20 minutes.
Conclusion
So there you have it—my beloved Pepperoni Cheese Pizza Quesadillas, born from a moment of kitchen desperation and now a regular joy in my home. They’re proof that the most satisfying meals don’t have to be complicated. I hope you give them a try and that they bring as much crunchy, cheesy, happy chaos to your table as they have to mine. Now, go warm up that skillet. Your new favorite dinner is just a few flips away.