Pro Tips for Best Results
My first pro tip is all about the crust. I’ve tried this three different ways: laying the triangles separately, using the seamless dough sheet, and pressing the perforated seams together. Pressing the seams on the classic rolls to form one solid sheet is the winner. It creates a more uniform, flaky crust that bakes evenly and contains the filling perfectly. The seamless sheet is great, but the classic rolls are more widely available, and this simple trick makes them work just as well.
For maximum flavor, don’t just sprinkle the taco seasoning on the cooked beef. After draining the grease, add 1/4 cup of water along with the seasoning and salsa. Let it simmer for those few minutes. This step, which I learned from the taco packet instructions, allows the spices to bloom and fully coat every bit of the meat, creating a juicier, more cohesive filling rather than a dry, crumbly one. It makes a huge difference in the final texture.
Finally, if you’re using a baking dish instead of a skillet, give it a very light spray with cooking spray before adding the meat. My cast iron is naturally non-stick, but when I tested this in a glass dish, a little grease helped the bottom crust release beautifully. Also, if your dish has sloped sides, you might have a little excess dough—just trim it or fold it over for a thicker edge.
Common Mistakes to Avoid
The most common mistake is using a salsa that’s too watery. I grabbed a generic, thin salsa once in a hurry, and the extra liquid made the bottom of the crescent dough soggy and undercooked. The “Thick ‘n Chunky” style is specified for a reason—it provides flavor and texture without excess moisture. If you only have runny salsa, drain it in a fine-mesh strainer for a few minutes before using.
Another pitfall is overloading the filling with too many wet ingredients. I love the idea of adding black beans and corn, but if you do, you must drain and rinse the beans thoroughly and pat the corn completely dry. I made the mistake of tossing in frozen corn straight from the bag, and the ice crystals melted into the filling, creating a steam bath that ruined my crust. Pre-cook any extra veggies to drive off their moisture first.
Serving Suggestions
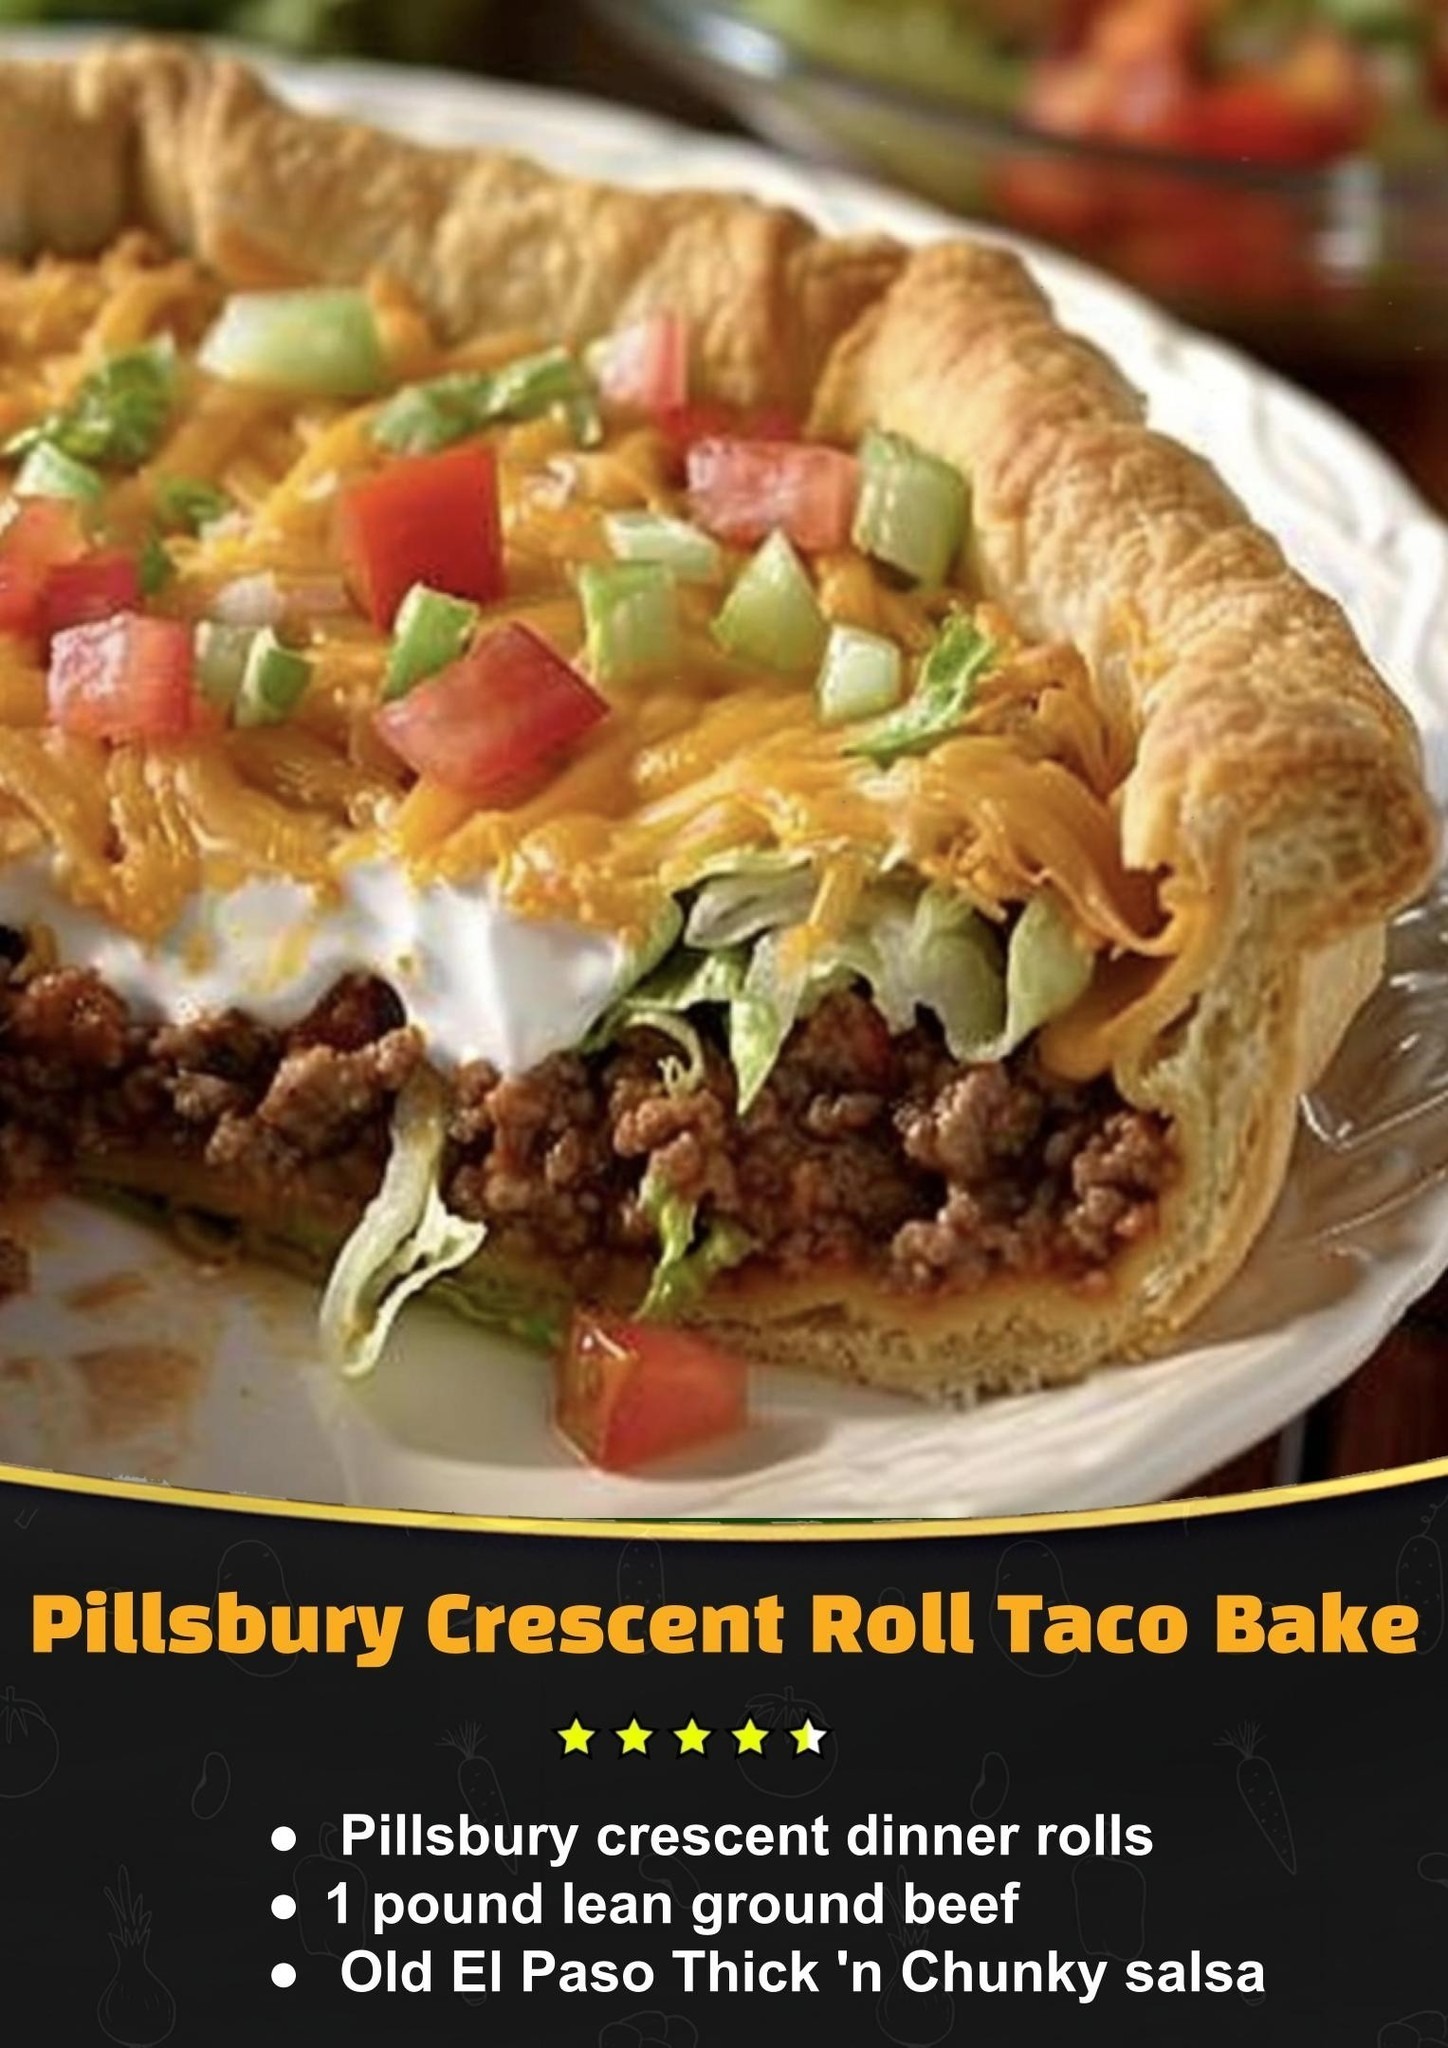
I love serving this bake right in the skillet, placed in the center of the table with all the toppings in little bowls around it. It feels rustic and communal. My must-have toppings are a big pile of crisp shredded iceberg lettuce for crunch, juicy diced tomatoes, a generous dollop of cool sour cream, and a few slices of pickled jalapeños for those who want heat. Let everyone build their perfect bite!
For side dishes, I keep it simple. A quick cilantro-lime rice is my go-to. I cook white rice and stir in a handful of chopped cilantro, a big squeeze of lime juice, and a pinch of salt. It’s fresh and zesty and complements the rich bake perfectly. A simple can of black beans, warmed with a pinch of cumin, is another effortless and satisfying side that rounds out the meal.
On really busy nights, I skip the sides altogether and just serve the bake with a big, simple green salad tossed with a creamy avocado dressing or a zesty lime vinaigrette. The freshness of the salad cuts through the richness of the beef and cheese beautifully. A cold glass of iced tea or a light Mexican beer completes the perfect, no-fuss dinner tableau.
Variations & Customizations
This recipe is wonderfully adaptable. For a “Seven-Layer Dip” style bake, I once layered refried beans under the beef mixture, then added the dough and cheese. After baking, I topped it with cold diced tomatoes, green onions, and a drizzle of sour cream. It was a massive hit at my game-day gathering, though I do recommend par-baking the crust for 5 minutes if you add the bean layer to prevent sogginess.
You can easily switch up the proteins. Ground turkey or chicken work great—just add a tablespoon of olive oil to the pan since they’re leaner. For a vegetarian twist, I’ve used a plant-based ground “meat” with excellent results, or a combination of two cans of drained black beans and corn. The key is to make sure your filling is well-seasoned and not too wet.
The cheese and topping combinations are endless. A Mexican blend cheese is fantastic, but pepper jack adds a wonderful kick. After baking, try topping with sliced black olives, a sprinkle of green onions, or a drizzle of ranch dressing for a cool twist. My friend even adds a hidden layer of cream cheese mixed with a little salsa under the beef for an extra creamy surprise. It’s rich, but delicious.
How to Store, Freeze & Reheat
Leftovers store wonderfully. Once completely cooled, I cover the skillet tightly with foil or transfer individual slices to an airtight container. It keeps in the refrigerator for 3-4 days. To reheat, the oven or toaster oven is your best friend. Microwaving, which I tried once, turns the fabulous flaky crust into a sad, rubbery mess. Reheat slices at 350°F for about 10-15 minutes until warmed through and the crust is crisp again.
This bake freezes beautifully for future easy meals. I let slices cool completely, then wrap each one individually first in plastic wrap and then in foil. I place all the wrapped slices in a large freezer bag. They’ll keep for up to 2 months. To reheat from frozen, I don’t thaw. I simply unwrap a slice, place it on a baking sheet, and bake at 375°F for 20-25 minutes. It comes out perfectly hot with a restored crispiness to the crust.
Conclusion
This Pillsbury Crescent Roll Taco Bake has become more than a recipe in my home; it’s a reliable source of comfort, joy, and full bellies. It represents the kind of cooking I love most—simple, flavorful, and meant to be shared. I hope it finds its way into your kitchen and becomes a cherished go-to for your busy nights and casual gatherings. Now, go grab those few simple ingredients and get ready for the easiest, most satisfying taco night you’ve ever had