Equipment Needed
- 9×13 inch baking dish
- Large mixing bowl
- Whisk
- Measuring cups and spoons
- Spatula
- Cooling rack
Step-by-Step Instructions
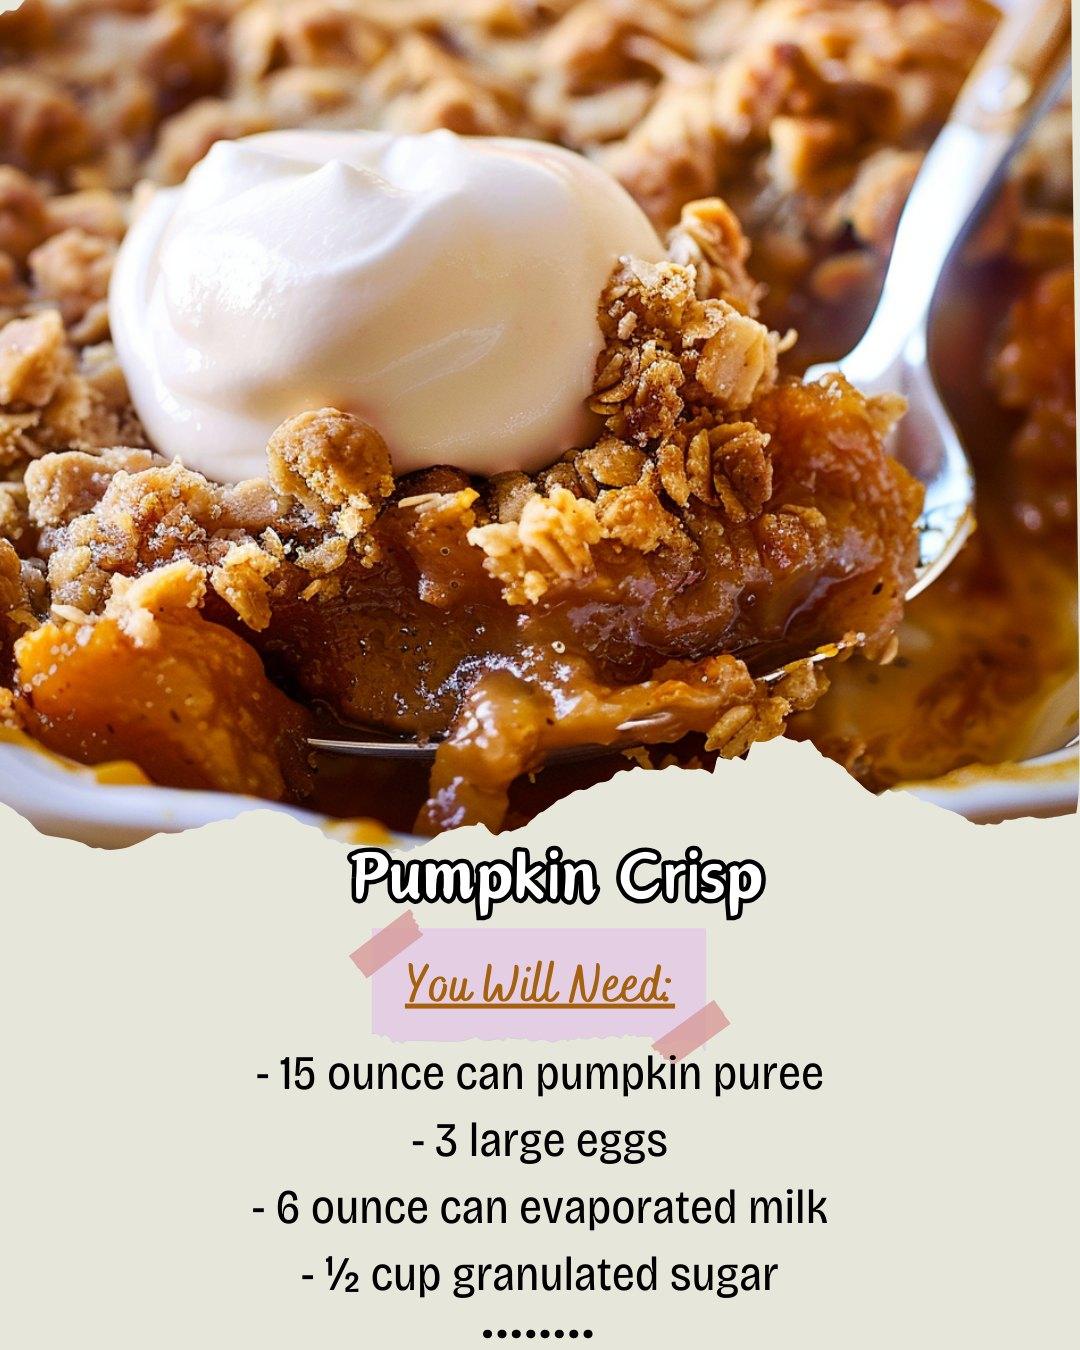
First, I preheat my oven to 350°F (175°C) and lightly grease that 9×13 inch dish. In my large bowl, I whisk together the pumpkin puree, eggs, and evaporated milk until it’s completely smooth and a beautiful, uniform orange. This is where the magic starts—it already smells like fall. Then, I whisk in the sugar, pumpkin pie spice, and salt. I pour this silky pumpkin custard directly into the prepared baking dish, and I give the dish a little gentle shake on the counter to level it out.
For the topping, I sprinkle the entire box of dry spice cake mix evenly over the pumpkin layer. Don’t stir it in! This was my initial instinct, but I learned it creates a weird, gummy layer. Just let it sit there like a blanket of spiced flour. If I’m using nuts, I scatter the chopped pecans or walnuts evenly over the cake mix. The nuts add a fantastic crunch, so I almost always include them.
Here’s the fun, slightly decadent part: I take the melted butter and drizzle it as evenly as I can over the entire top. I use a spatula to help spread the drizzle, but I don’t go stirring. The goal is to moisten most of the cake mix so it can bake up into that incredible crisp topping. It will look a little uneven and messy—that’s perfect. It bakes up into gorgeous, buttery crumbles.
I carefully slide the dish into the oven and bake for 50 to 60 minutes. I start checking at 50 minutes. The top should be a deep golden brown all over, and the pumpkin filling should be set (it will still jiggle a little in the very center, but it shouldn’t look liquidy). The smell at this point is absolutely intoxicating. I pull it out and let it cool on a rack for at least an hour before serving. This wait is crucial for the filling to set properly, so be patient!(See the next page below to continue…)