Pro Tips for Best Results
Let me tell you, I tested the butter drizzle method three different ways. The first time, I tried cutting cold butter into the cake mix like a traditional crisp. It was good, but not as gloriously crunchy. Drizzling melted butter is the winner—it creates those perfect, crispy clusters and buttery pockets that make this dessert so special. Just go slow and try to cover as much area as possible.
Room temperature eggs are not just a suggestion here. I made this once with cold eggs straight from the fridge, and no matter how long I whisked, I ended up with little white streaks in my pumpkin layer. It baked fine and tasted fine, but it didn’t look as smooth and professional. Taking five minutes to let your eggs warm up on the counter ensures a perfectly silky, streak-free custard base.
If you’re unsure about doneness, err on the side of a deeper golden top. A slightly longer bake gives you a crispier, more defined topping. I’ve found that if the top looks perfectly golden to my eye, it’s usually just right. If the edges are getting too dark too quickly, a loose piece of foil over the top for the last 10-15 minutes of baking works wonders.
Common Mistakes to Avoid
The biggest mistake I made the first time was being impatient and trying to serve it warm out of the oven. Don’t do what I did! I scooped it, and it was a delicious but soupy mess. That hour of cooling time on the rack is non-negotiable. It allows the pumpkin custard layer to firm up so you get clean, beautiful layers when you scoop into it. Think of it as your dessert’s beauty rest.
Another easy slip-up is confusing pumpkin puree with pumpkin pie filling. I grabbed the wrong can once in a hurry, and the result was far too sweet and oddly spiced. The puree gives you a clean, pure pumpkin canvas to build your flavors upon. Trust me, do not skip carefully reading that label—it makes a monumental difference in the final flavor.
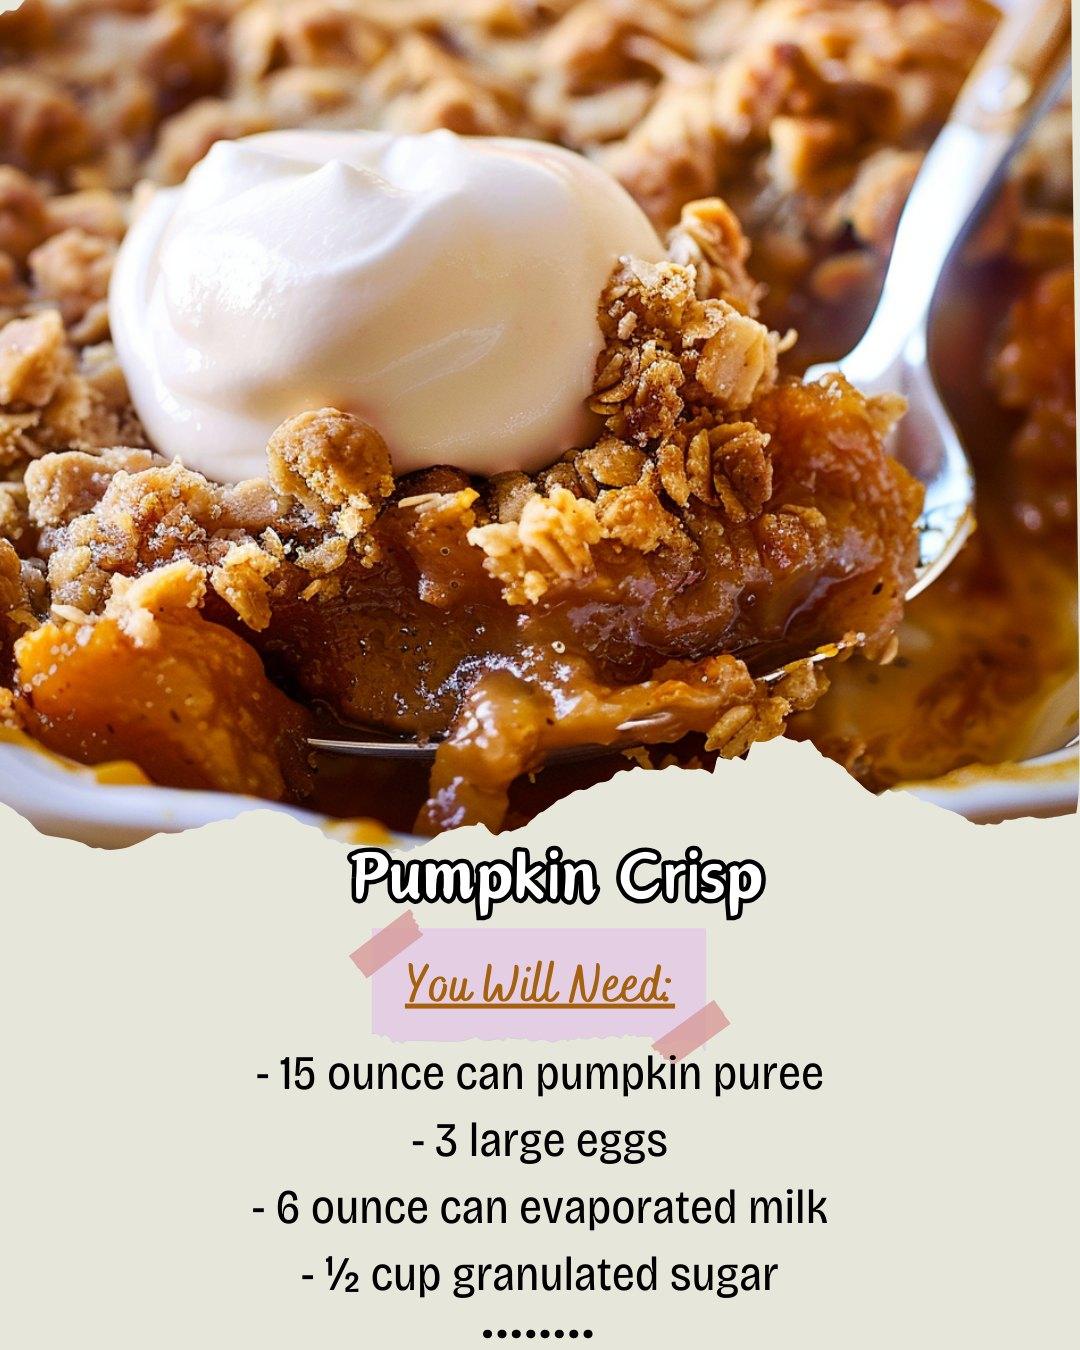
Serving Suggestions
I like serving Pumpkin Crisp just slightly warm or at room temperature. The contrast in temperatures is sublime. My absolute favorite way is to dish up a generous scoop into a bowl and top it with a big, melting scoop of high-quality vanilla ice cream. The cold, creamy ice cream against the spiced, warm crisp is a bite of heaven.
For a slightly more elegant presentation, I’ll sometimes serve it in individual ramekins or small bowls with a dollop of freshly whipped cream and a tiny sprinkle of extra pumpkin pie spice or cinnamon on top. A drizzle of salted caramel sauce over everything is another fantastic addition I’ve tried for special occasions—it takes it over the top in the best way.
This is also a fantastic dessert for a crowd because it’s so easy to scale and serve. I just set out the baking dish, a stack of bowls, the ice cream, and a few spoons, and let everyone help themselves. It’s the ultimate cozy, communal dessert that always sparks happy conversations.
Variations & Customizations
I love playing with the topping. While spice cake mix is classic and easy, I’ve had great success using a yellow or vanilla cake mix and adding an extra tablespoon of pumpkin pie spice to it. For a richer flavor, try using a butter pecan cake mix—it’s incredible. If you want to go completely homemade, you can substitute the cake mix with a mixture of flour, oats, brown sugar, and spices, but the cake mix is my secret for foolproof ease and perfect texture every time.
The add-ins are where you can really make it your own. I’ve stirred a handful of white chocolate chips or butterscotch chips into the cake mix before sprinkling it on. For a tropical twist, a cup of shredded coconut mixed with the nuts is delightful. If you’re not a fan of nuts, swap them out for an equal amount of old-fashioned rolled oats for a different kind of chew.
For the base, you can experiment with the spices. I sometimes add a quarter teaspoon of cardamom or a pinch of ground ginger for extra zing. If you’re serving it for breakfast or brunch (yes, it’s that good), you can reduce the sugar in the pumpkin layer to 3/4 cup for a less sweet, more appropriate morning treat.
How to Store, Freeze & Reheat
Leftovers (if you have any!) store beautifully. I cover the baking dish tightly with plastic wrap or transfer portions to an airtight container. It keeps in the refrigerator for up to 4 days. The topping will soften a bit in the fridge, but the flavor is still amazing. I actually love a cold slice straight from the fridge the next day.
To freeze, I let the crisp cool completely, then cut it into individual portions. I wrap each portion tightly in plastic wrap and then in foil, and pop them in a freezer bag. They freeze well for up to 2 months. To reheat, I unwrap a frozen portion and microwave it in 30-second bursts until warmed through, or I reheat it in a 300°F oven for 15-20 minutes until hot. The oven method will help crisp the topping back up a little.
Conclusion
This Pumpkin Crisp has become my go-to fall dessert for everything from weeknight cravings to holiday feasts. It’s the embodiment of comfort in a baking dish, and I hope it brings as much warmth and joy to your kitchen as it has to mine. Give it a try this season, and don’t forget the vanilla ice cream. Happy baking