Step-by-Step Instructions
First, get your chilled fruit punch and soda ready. Pour the entire half-gallon of Hawaiian punch into your cavernous punch bowl. Next, slowly pour in the thawed limeade concentrate—I just slide the whole gloopy contents right in. Now, take a deep breath and gently stir these two liquids together with your ladle. You’ll see the color become a deep, ruby red. The aroma is fantastic already, all tropical and tangy. This is your base, and getting it mixed before the fizz hits is a key step I learned after my first chaotic attempt.
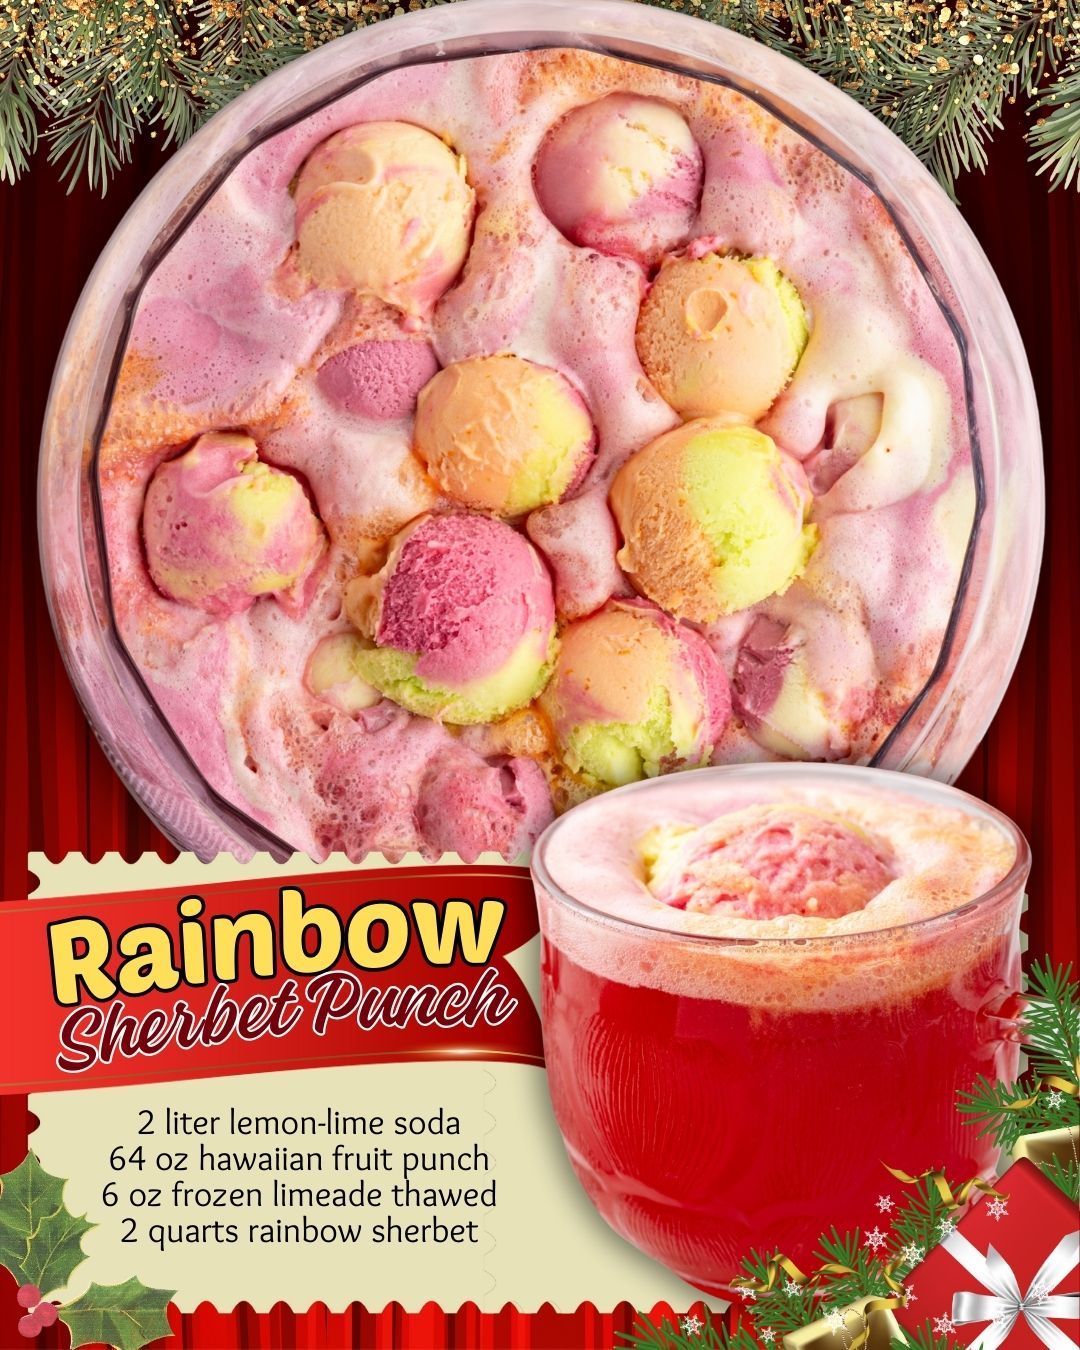
Here comes the fun part. Right before you’re ready to serve (and I mean right before—timing is everything!), slowly pour the chilled 2-liter of lemon-lime soda down the side of the bowl. Listen to that happy fizz! Gently stir it once or twice to combine. Now, scoop out big, beautiful mounds of the rainbow sherbet and float them on top of the fizzy red sea. I like to use about three large scoops per quart. Watching the sherbet begin to melt, sending pastel streaks of orange, pink, and green through the punch, is pure kitchen happiness.
My final pro-move is to take that large spoon and very gently press the sherbet mounds down just under the surface once. This isn’t strictly necessary, but I’ve found it kickstarts that dreamy, creamy melting process so every ladleful from the get-go has those delicious frothy sherbet ribbons. Then, simply place the ladle in the bowl and step back. Your masterpiece is ready. The whole process takes less than five minutes, but the wow factor lasts all night.
Pro Tips for Best Results
The single biggest tip I can give you is to keep EVERYTHING cold. I’m talking soda and fruit punch straight from the fridge, and the limeade thawed in the fridge, not on the counter. Room-temperature ingredients will make the sherbet melt into a sad puddle almost instantly, and you’ll lose all that wonderful fizz. I tested this three different ways, and the batch made with ice-cold components stayed perfectly fizzy and visually stunning for over an hour.
Secondly, be strategic with your sherbet. Let it sit out of the freezer for just 5-7 minutes before scooping. Rock-hard sherbet is a nightmare to scoop and won’t melt appealingly, but sherbet that’s too soft will collapse. You want it firm but yielding. Also, when scooping, go for uneven, rustic mounds rather than perfect balls. The craggy edges melt and create those beautiful, drinkable sherbet clouds much faster. It’s both prettier and more functional.
Finally, embrace the “build in the bowl” method. I tried pre-mixing the punch, soda, and limeade in a separate pitcher to pour over the sherbet, and it was a fizz-fail. You lose too much carbonation during the transfer. Building it directly in the serving vessel preserves every single bubble. And don’t add the soda and sherbet until your guests are about to arrive. This is a “serve immediately” kind of drink for maximum magic.
Common Mistakes to Avoid
My first-time mistake was using a cheap, overly sweet store-brand soda. It made the whole punch taste like liquid sugar and completely overpowered the subtle tartness of the sherbet and limeade. It was cloying and one-note. Learn from my error: a good quality, crisper lemon-lime soda is worth the extra few cents. It provides the necessary acidity and clean fizz that makes the punch refreshing, not heavy.
(See the next page below to continue…)