Equipment Needed
- Baking sheet
- Parchment paper
- Rolling pin
- Small bowls (for egg wash and cream cheese mix)
- Hand mixer or fork
- Pastry brush
- Sharp knife or pizza cutter
- Cooling rack
Step-by-Step Instructions
First, I get my pastry ready. I line my baking sheet with parchment paper—a non-negotiable step for easy cleanup and to prevent any sticky caramelized sugar from welding my danishes to the pan. I unfold the thawed puff pastry sheet onto a lightly floured surface and give it a gentle roll with my rolling pin, just to even it out and seal any cracks. Then, I use my pizza cutter to slice it into six even rectangles. This is where I learned my first timing lesson: work relatively quickly so the butter in the pastry stays cold, which is the secret to a good rise.
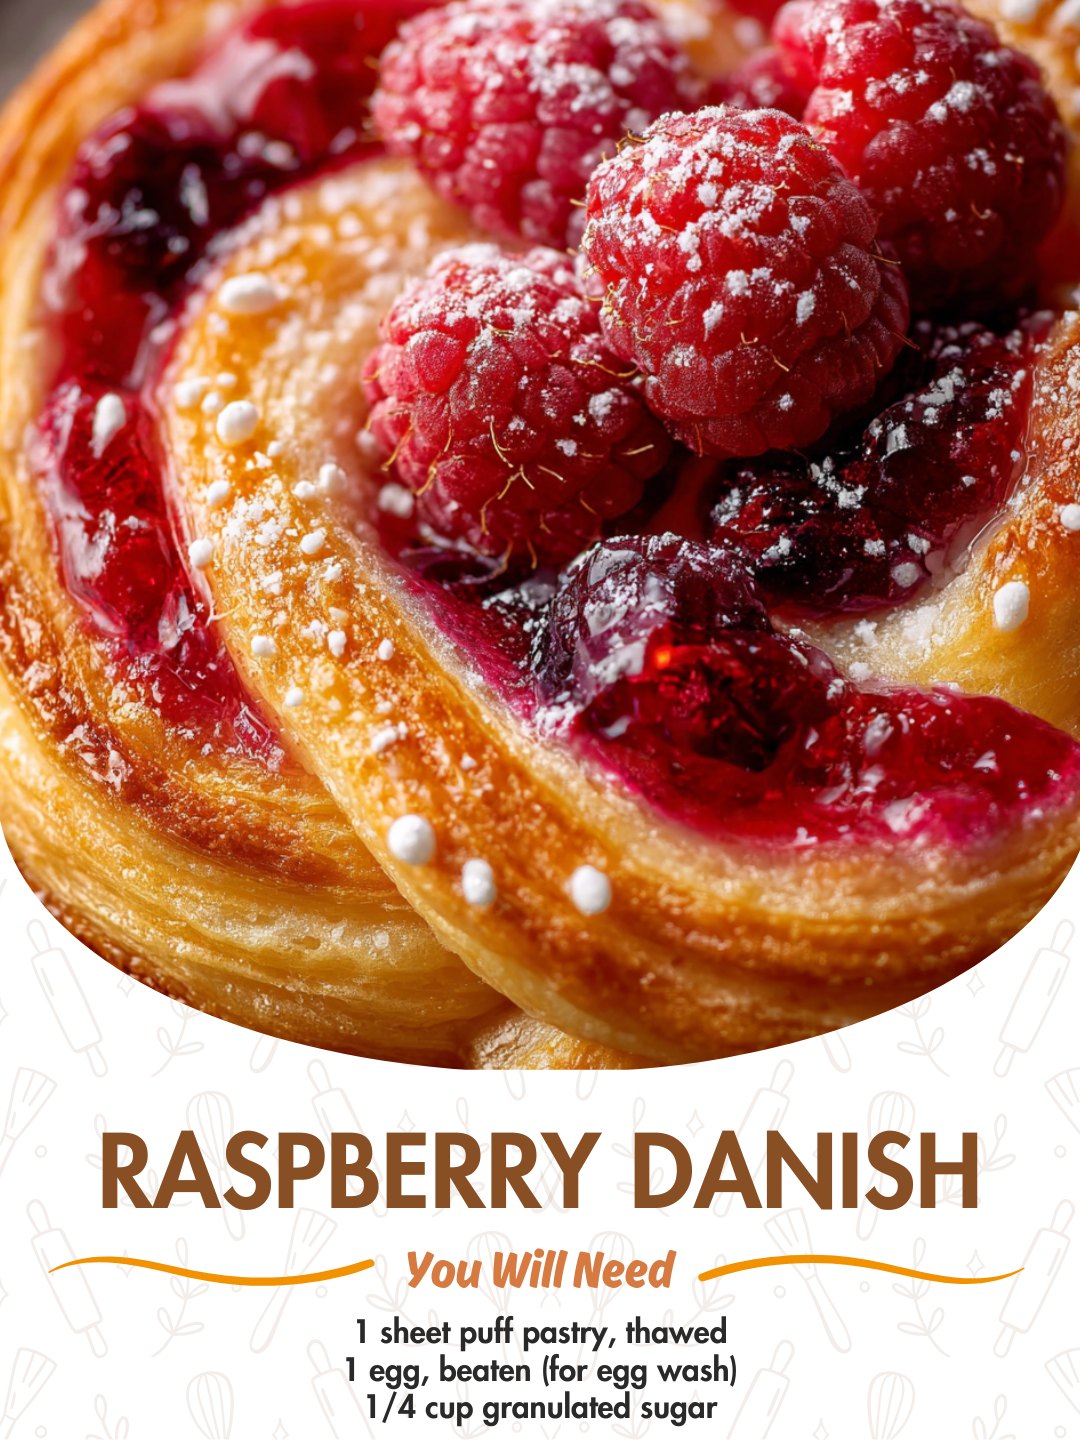
Next comes the assembly, which is the fun, creative part. I arrange the rectangles on the baking sheet. Using the back of a spoon, I make a deep indent in the center of each, leaving a solid half-inch border all the way around—this border is your dam to hold in the glorious filling. In a small bowl, I mix the softened cream cheese, 2 tablespoons of powdered sugar, and vanilla until smooth. I divide this mixture among the pastries, spreading it inside the indentation. Then, I dollop a generous tablespoon of raspberry jam right on top of the cream cheese. I’ve found that swirling it slightly looks beautiful, but I avoid spreading it all the way to the edges.
Now, for the magic touch: the egg wash and sugar. I beat one egg with a teaspoon of water until it’s completely smooth. Using my pastry brush, I carefully brush the exposed pastry borders with the egg wash. This is what gives them that deep, glossy, professional-looking golden color, so don’t be shy here. Then, I sprinkle the entire thing—filling and all—liberally with the granulated sugar. I used to skip sprinkling sugar on the filling, but trust me, do it. It creates a delightful, crackly, sweet crust on the jam that is simply divine.
Finally, it’s bake time. I pop the tray into a preheated 400°F (200°C) oven. The key is to watch, not just set a timer. They need about 15-18 minutes. You’re waiting for the pastry to launch itself skyward into flaky, golden-brown layers and for the filling to bubble ferociously. That bubbling is your signal it’s done. I let them cool on the pan for just 5 minutes before moving them to a rack—this lets the jam set slightly so it doesn’t run everywhere when you pick one up.(See the next page below to continue…)