Equipment Needed
- 6-quart or larger slow cooker
- Large skillet
- Wooden spoon or spatula
- Measuring cups and spoons
- Cheese grater (if shredding your own cheese—highly recommended for better melt!)
Step-by-Step Instructions
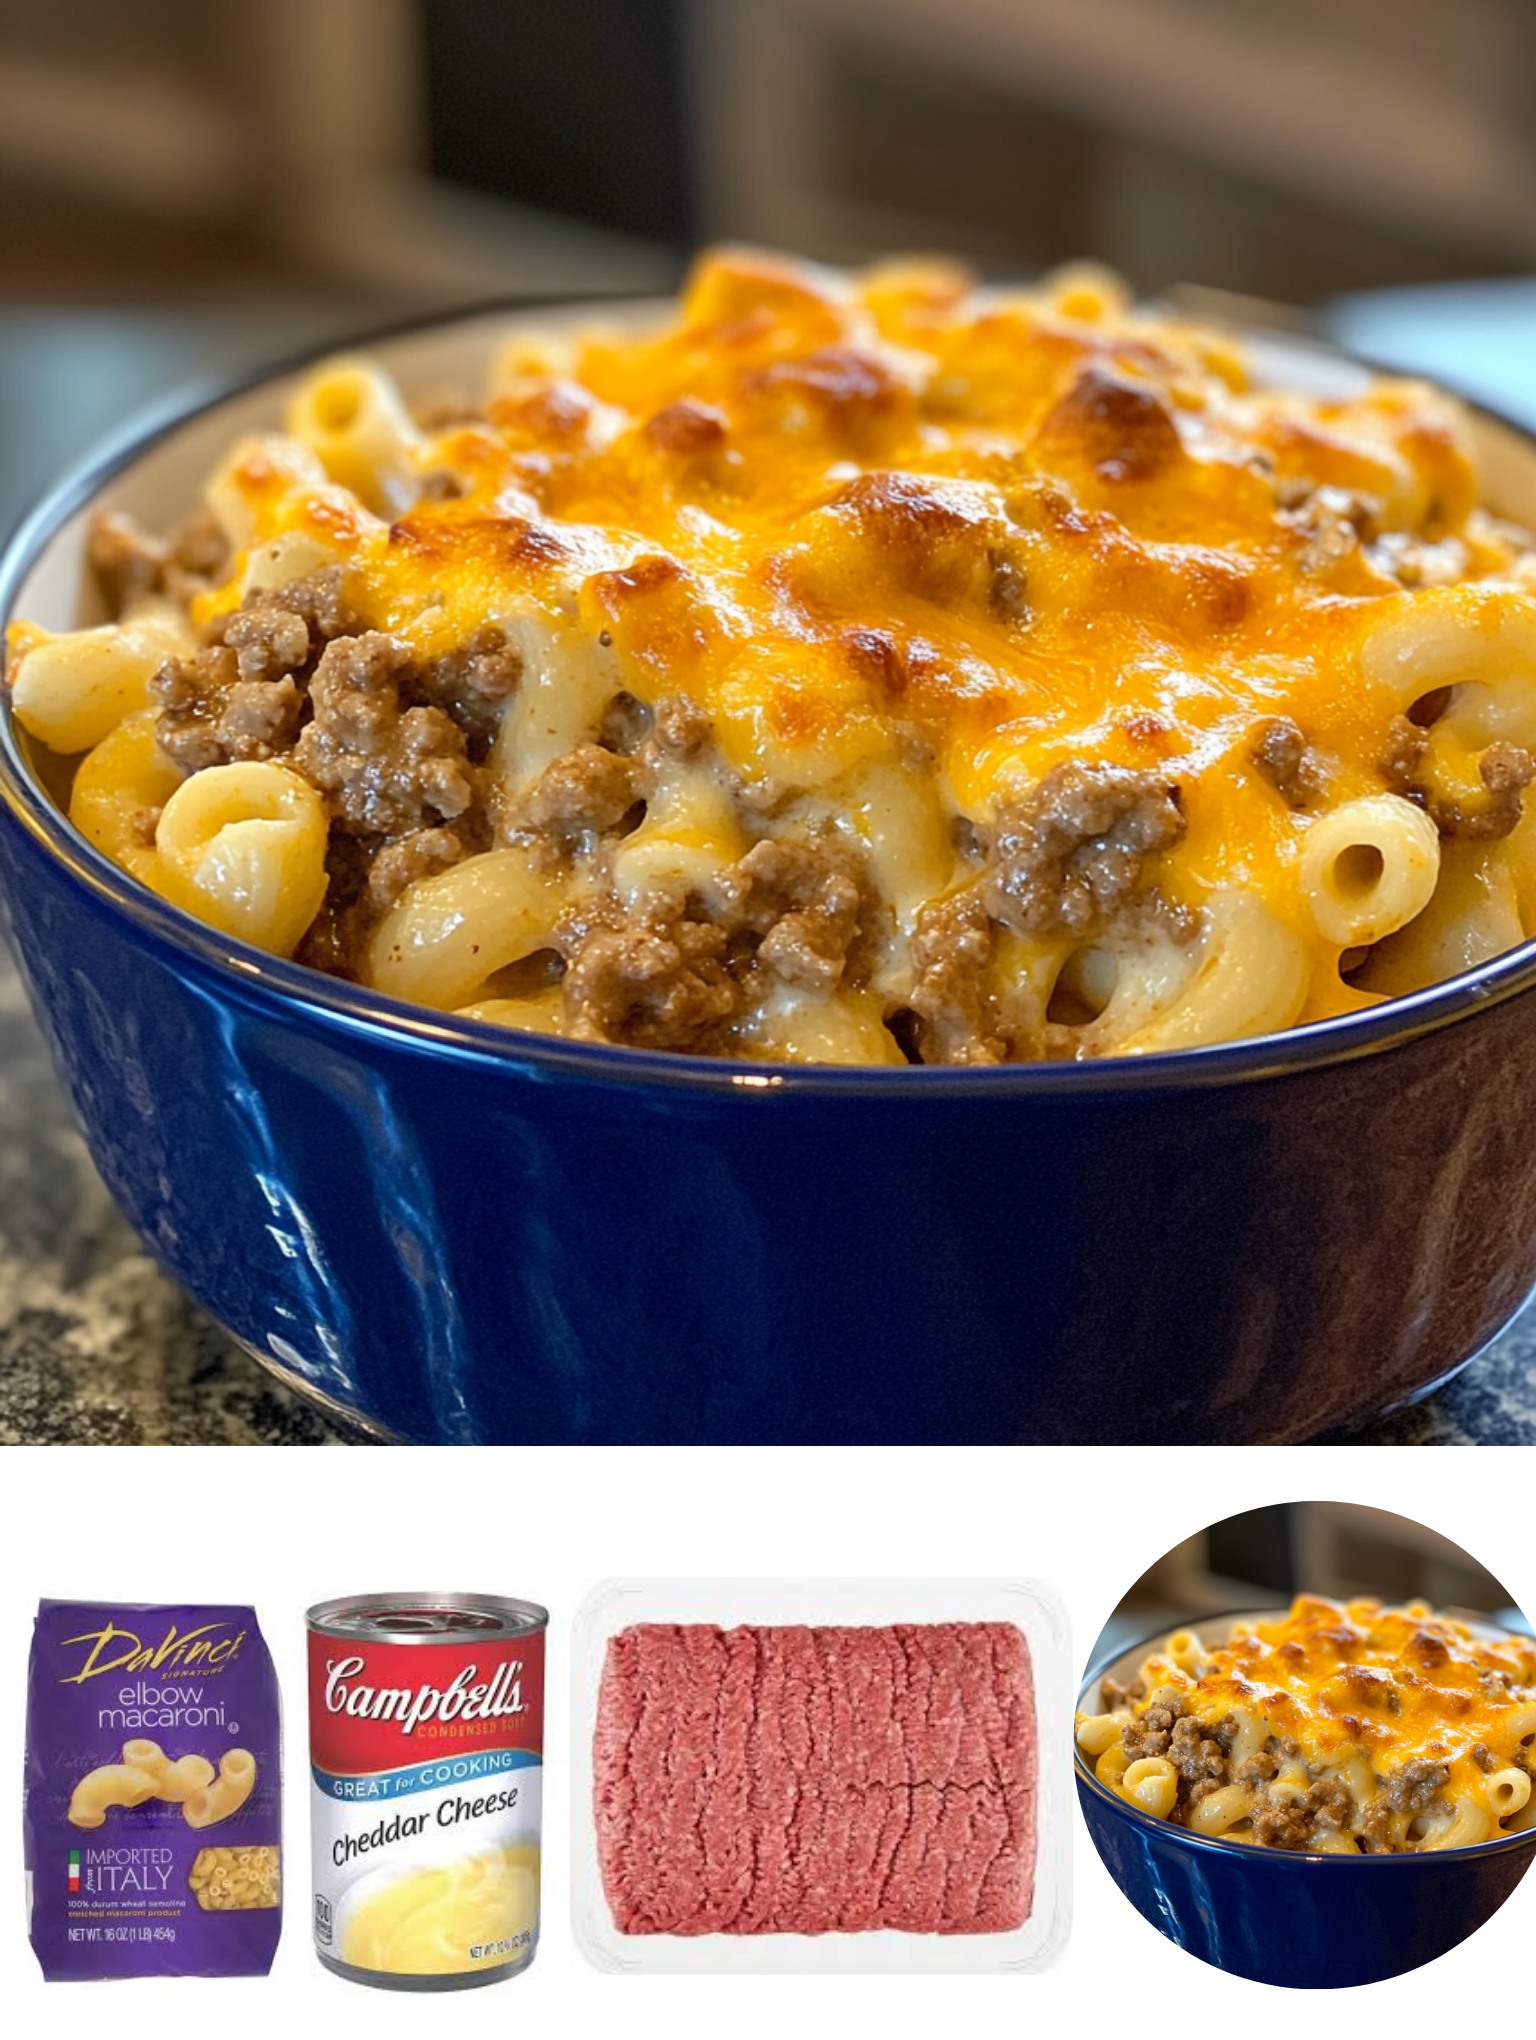
First, we build the flavor base. I brown the ground beef with the diced onion in my skillet over medium-high heat, breaking it up as it cooks. When the beef is no longer pink, I add the minced garlic and cook for just another minute until fragrant—this wakes up the garlic’s flavor beautifully. Then, I carefully drain any excess grease. This step is crucial; skipping it once left my sauce a bit greasy, and I regretted it.
Next, I transfer that flavorful beef mixture right into the bowl of my slow cooker. To it, I pour in the beef broth, tomato sauce, and evaporated milk. Then, I sprinkle in all those dried spices—the oregano, paprika, garlic powder, onion powder, pepper, and salt. I give it all a very good stir until everything is beautifully combined. At this stage, it looks a bit soupy and separated, but I promise you, that’s exactly what you want.
Here’s the easy part: I stir in the entire pound of uncooked elbow macaroni, making sure every piece is submerged in the liquid as much as possible. Then, I sprinkle over two cups of the sharp cheddar and the mozzarella, but I do not stir them in. I just let them sit on top. This is my learned trick—it creates a dreamy, cheesy layer that slowly melts down into the pasta as it cooks. I place the lid on, set the cooker to LOW for 3-4 hours, and walk away. No peeking for at least the first 2.5 hours!
When I come back, the smell is intoxicating. I remove the lid and give the casserole one gentle, final stir. The pasta should be perfectly tender, and the sauce will have thickened into a creamy coat. I taste it here, adding a pinch more salt if needed. Then, I scatter the remaining cup of shredded cheddar over the top, put the lid back on for just 5-10 minutes to let it melt, and it’s ready. The wait is always worth it.(See the next page below to continue…)