Next, it’s time to layer! Grab your serving dish or individual cups and start with a layer of the pudding mixture at the bottom. Then, add a lovely layer of graham cracker crumbs for that delicious crunch. On top of that, layer your fresh strawberries and bananas. Repeat the process until you run out of ingredients, finishing with a layer of pudding and topping it off with some extra sliced fruit and a sprinkle of graham cracker crumbs for that beautiful presentation.
Allow your dessert to chill! Cover it with plastic wrap and pop it in the fridge for at least two hours. This step is crucial because it allows all those fantastic flavors to meld together, and the pudding will set up nicely, making for a delightful creamy texture.
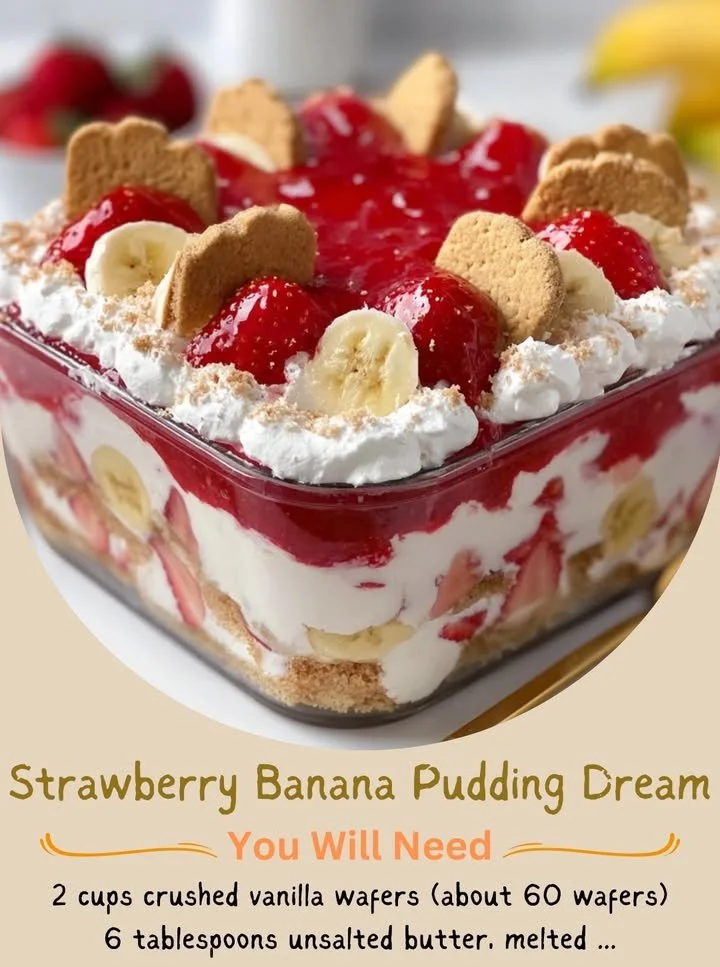
Before serving, I often like to garnish with mint leaves for that extra pop of color. This Strawberry Banana Pudding Dream is not only visually appealing but also bursting with freshness and flavor – you’ll have trouble resisting a second helping!
Pro Tips for Best Results
When making the pudding, I tested it using both whole milk and a non-dairy option to see which I preferred. I find that whole milk gives it a creamier texture, while non-dairy still works but may taste a bit less rich. So, go with what feels right for you!
Also, when layering the fruits, make sure to choose ripe (but not overly ripe) bananas and strawberries. Overripe fruits can make the pudding mushy, and nobody wants that! I often like to add a little lemon juice to bananas to keep them from browning before I layer them—just a small amount will do the trick.
Lastly, I’ve learned the hard way that letting the dessert sit for at least two hours in the fridge is non-negotiable! If you dig in too early, it may not hold its shape, and trust me; you want those layers to look as good as they taste.
Common Mistakes to Avoid
One common mistake I made early on was not whisking the pudding mix and milk together long enough. If it’s not thick enough, your layers may end up sliding around instead of staying beautifully stacked. Take those couple of extra minutes to whisk until it’s just right! (See the next page below to continue…)