Step-by-Step Instructions
First, we set the stage. Preheat your oven to 350°F (175°C) and grease that 9×13 pan generously with butter or baking spray. In your medium bowl, prepare the cake batter exactly as the box directs. Pour it evenly into the bottom of your prepared pan—it will be a thin layer, and that’s perfect. Now, for the fun textural bits: evenly sprinkle the shredded coconut, chopped strawberries, and white chocolate chips right over the raw batter. Don’t stir! Just let them sit on top like a delicious, colorful confetti.
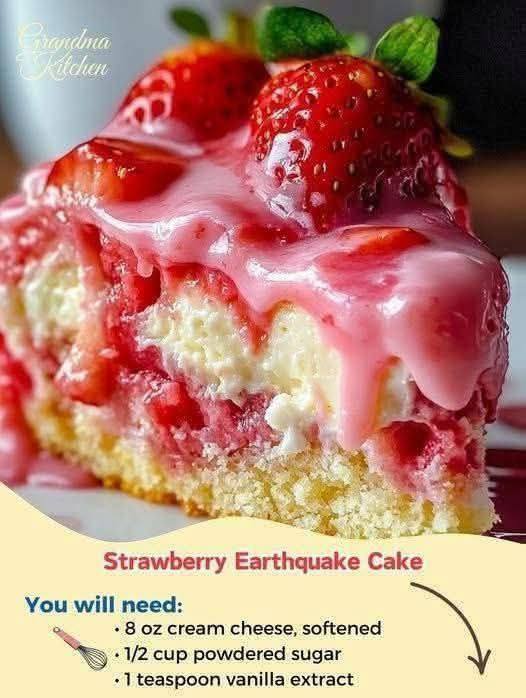
While the oven preheats, let’s make the magical cream cheese layer. In your small bowl, use your mixer to beat the softened cream cheese until it’s completely smooth and fluffy. This takes a solid two minutes. Scrape down the sides, then add the powdered sugar and vanilla. Beat again until it’s fully incorporated and no lumps remain. Here’s my pro-tip moment: dollop this mixture by heaping tablespoons all over the top of the cake batter and toppings. Don’t try to spread it! Just plop it around. Then, take your strawberry jam and dollop it in the spaces between the cream cheese.
Now, for the “earthquake.” Take a butter knife or your spatula and gently swirl it through the entire pan. Make broad, lazy figure-eight motions. You want to marble the cream cheese, jam, and the toppings down into the batter, but you do not want to fully mix it. I stop when I see beautiful streaks and the batter is peeking through. Pop it in the oven for 40-50 minutes. The top will be golden brown, the edges will be pulling away, and the center should have just a slight, barely-there jiggle. Let it cool completely in the pan—this is a test of patience, but it allows the layers to set properly for clean slices.
Pro Tips for Best Results
The single biggest tip I can give you is about temperature. You must let this cake cool completely in the pan before you even think about cutting into it. I know it’s tempting—the smell is incredible—but if you cut it warm, it will be a gooey, delicious mess that won’t hold its shape on a plate. I set a timer for two hours and walk away. When you come back, you’ll get those perfect, craggy slices that show off all the beautiful layers. It’s worth the wait, I promise.
I’ve tested the swirling technique three different ways: too little, too much, and just right. Too little swirling, and you get isolated pockets of flavor. Too much swirling, and you essentially mix the batter, losing the distinct earthquake effect and making the cake denser. The sweet spot is about 8-10 slow, wide swirls across the length and width of the pan. You’re aiming for integration, not homogenization. Look for a marbled, chaotic pattern—that’s your visual cue to stop.
Finally, don’t skip the full-fat cream cheese. I tried once with a reduced-fat version during a health kick, and the texture of the middle layer was grainy and less creamy. The fat content is crucial for that lush, velvety mouthfeel against the soft cake and chewy coconut. And while we’re on toppings, if you’re not a coconut person, toasted pecans are an incredible substitute that add a buttery crunch. I’ve done both, and my family is fiercely divided on which is better!
(See the next page below to continue…)