Equipment Needed
- Two 9-inch round cake pans
- Parchment paper
- Mixing bowls (medium and large)
- Whisk and rubber spatula
- Electric hand mixer or stand mixer
- Cooling racks
- Saucepan for caramel
- Icing spatula or offset spatula
- Piping bag (optional, for decorating)
Step-by-Step Instructions
First, I preheat my oven to 350°F and generously grease and line my two cake pans with parchment circles. This is my insurance policy for perfect release every time. In a large bowl, I whisk together all my dry ingredients: flour, cocoa powder, baking powder, baking soda, and salt. I make sure to really whisk it—getting rid of any cocoa lumps here means a smoother batter. In another bowl, I whisk the eggs, sugar, milk, oil, and vanilla until it’s a smooth, pale mixture. Then, I slowly add the wet ingredients to the dry, mixing with the whisk until it just starts to come together. The batter will be very thick, and that’s okay!
Now for the magic step: I carefully pour in the hot coffee. The batter will become very thin and liquid, which always surprises first-timers! I just mix it gently until it’s smooth and glossy. I divide this beautifully dark batter evenly between the pans—I sometimes use a kitchen scale for precision—and bake for 30-35 minutes. The smell is heavenly. I know the cakes are done when a toothpick inserted in the center comes out with a few moist crumbs, not wet batter. I let them cool in the pans for 10 minutes exactly before turning them out onto a rack to cool completely. Patience here is key; frosting a warm cake is a disaster I’ve lived through!
While the cakes cool, I make the frosting by beating the softened butter until it’s creamy, then slowly adding the cocoa, powdered sugar, cream, and vanilla. I beat it for a good 3-4 minutes until it’s light, fluffy, and spreadable. Then, I tackle the caramel. I melt the sugar in my saucepan over medium heat, swirling the pan occasionally until it’s a deep amber liquid. This is the moment to watch like a hawk—it goes from perfect to burnt in seconds. I take it off the heat and immediately whisk in the butter (it will bubble violently, but don’t panic!), then slowly whisk in the warm cream until it’s a silky sauce. I stir in a teaspoon of the flaky salt and let it cool and thicken for about 30 minutes.
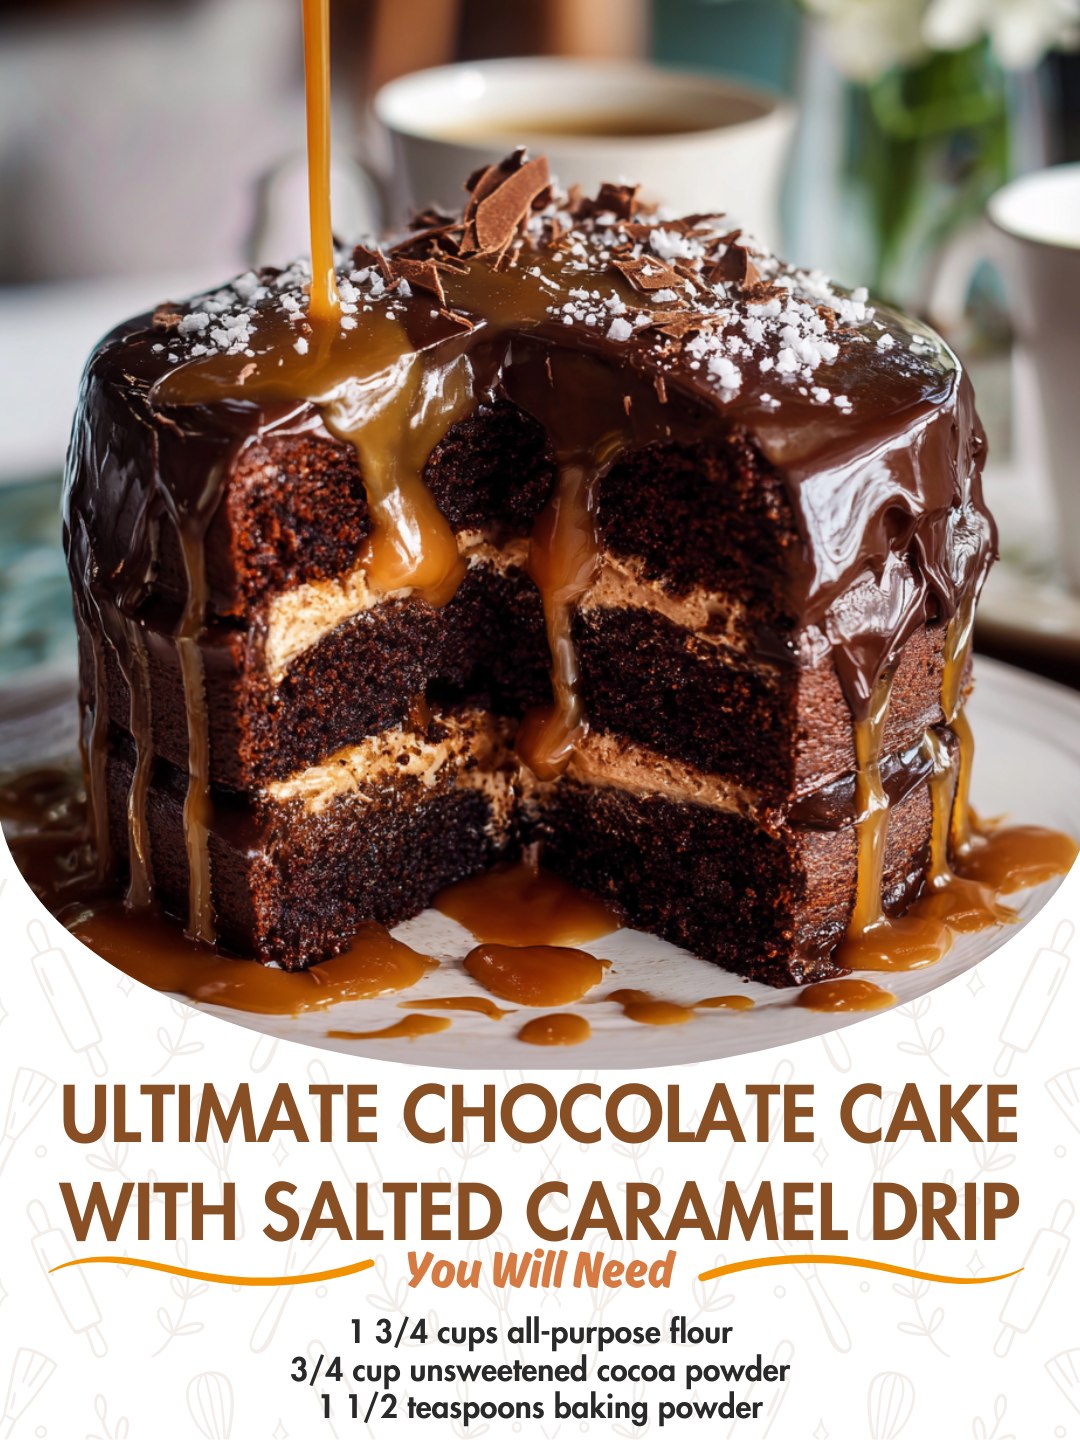
Finally, the assembly! I level my cakes if they have a slight dome, then place the first layer on my serving plate. I spread a generous amount of frosting, top with the second layer, and do a thin “crumb coat” over the entire cake. After a quick 15-minute chill in the fridge to set that coat, I pile on the rest of the frosting and smooth it out. Now, the grand finale: I spoon my slightly cooled, thickened caramel over the top edges of the cake, encouraging it to drip down the sides in lovely, uneven rivulets. I pour the rest in the center and spread it gently, then finish with a sprinkle of the remaining flaky sea salt.(See the next page below to continue…)