Next, I pour the strawberry mixture into the greased baking dish and spread it evenly across the bottom. Then I take the cake mix and sprinkle it evenly on top of the strawberry layer—no need to mix! It’s fun to watch the layers come together so beautifully. Next, I drip the melted butter over the cake mix, ensuring every bit of it gets a taste of that buttery goodness. This step is key for that delightful crust on top!
After that, I mix the vanilla extract with water and pour it gently over everything. It’s such a simple process, yet the anticipation of how it will come out is exhilarating! Once all the layers are set, I bake the cake for about 40-45 minutes or until the top is golden brown and the edges are bubbly. The smell wafting through my kitchen is heavenly!
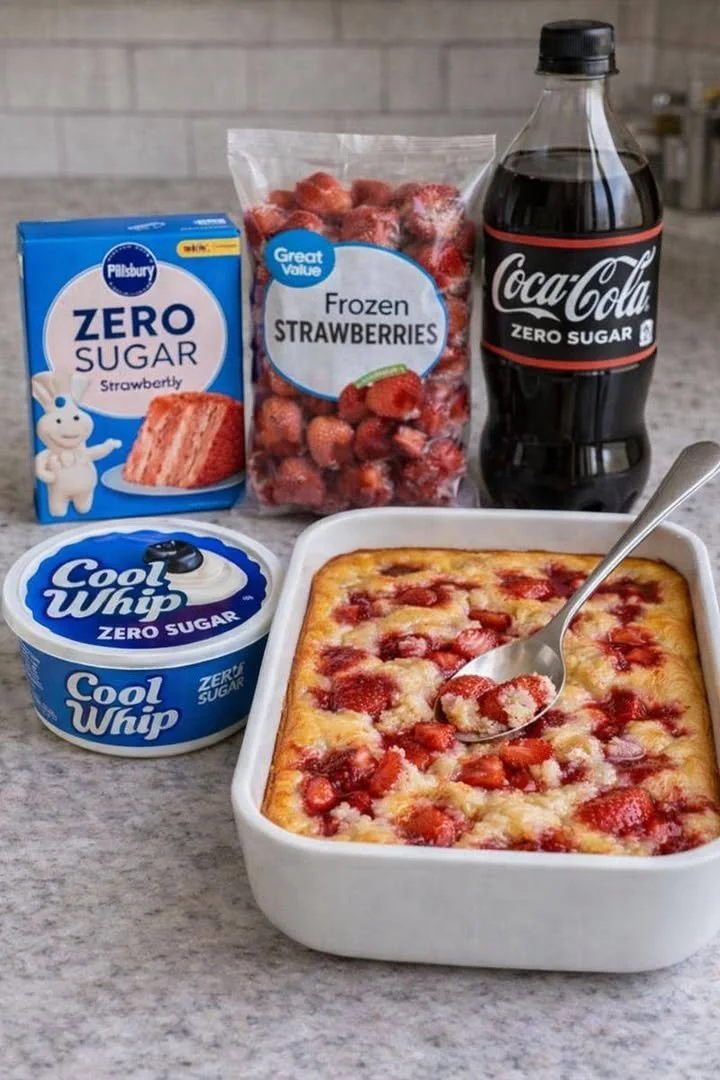
And just like that, my Zero Sugar Strawberry Dump Cake is ready! I let it cool for a bit (if I can resist the urge to dive in too quickly), and then I slice it up. At this point, I can hardly wait to dig in. It’s a beautiful, rustic dessert that’s perfect for serving at gatherings or just enjoying on a cozy evening at home with a scoop of sugar-free ice cream on the side.
Pro Tips for Best Results
I tested this cake three ways: with fresh strawberries, frozen strawberries, and a combination of both. I found that fresh strawberries offer a brighter flavor and better texture. If you use frozen, make sure to thaw them first and drain excess liquid for the best results!
Also, when it comes to the cake mix, I recommend using a good quality sugar-free mix. I tried a few brands, and the taste and texture varied significantly. The one I settled on gave me that golden brown crust and the perfect crumb!
Lastly, I always keep an eye on the baking time. Every oven is a little different, so start checking at the 40-minute mark. You want that top to be golden brown and the strawberries bubbling at the edges. It’s all about that perfect moment when the cake is just right!
Common Mistakes to Avoid
One mistake I initially made was pouring water too quickly over the cake mix. I learned the hard way that you should drizzle it gently to evenly distribute moisture. Otherwise, some parts can end up drier than others. So take your time with that step!
Another error was using too much jam. While I love a strong strawberry flavor, too much can make the cake overly sweet and messy. Stick to the one cup of sugar-free jam—it’s the perfect balance.
I must also mention the importance of cooling time. I’ve experienced the excitement of cutting into the cake too early, only to see it become a bit of a puddle. Letting it cool for at least 20 minutes helps set the layers beautifully. Trust me, patience pays off!
Lastly, I once forgot to grease my baking dish. Oh boy, what a messy situation that was! Always remember to grease your dish, or you’ll be struggling to get those perfectly layered slices out without a crumble.
(See the next page below to continue…)