Next, add the eggs one at a time, mixing well after each addition, then stir in the vanilla extract. It’s such a lovely moment when you can see the batter getting richer. Gradually mix in your flour mixture, alternating with the sour cream, starting and ending with the flour. It’s important to mix until just combined; we don’t want to overmix and risk a dense texture. Now for the fun part—gently fold in the chopped cherries and chocolate chips. Just thinking about how those little chocolate morsels are going to melt into the cake makes me giddy!
Pour the batter into the prepared loaf pan, spreading it evenly. Bake for about 50-60 minutes, or until a toothpick inserted into the center comes out clean. The aroma of cherries and chocolate will fill your kitchen, and trust me, it’s going to be hard to wait for it to cool. Allow the cake to cool in the pan for about 10 minutes before transferring it to a wire rack to cool completely.
Pro Tips for Best Results
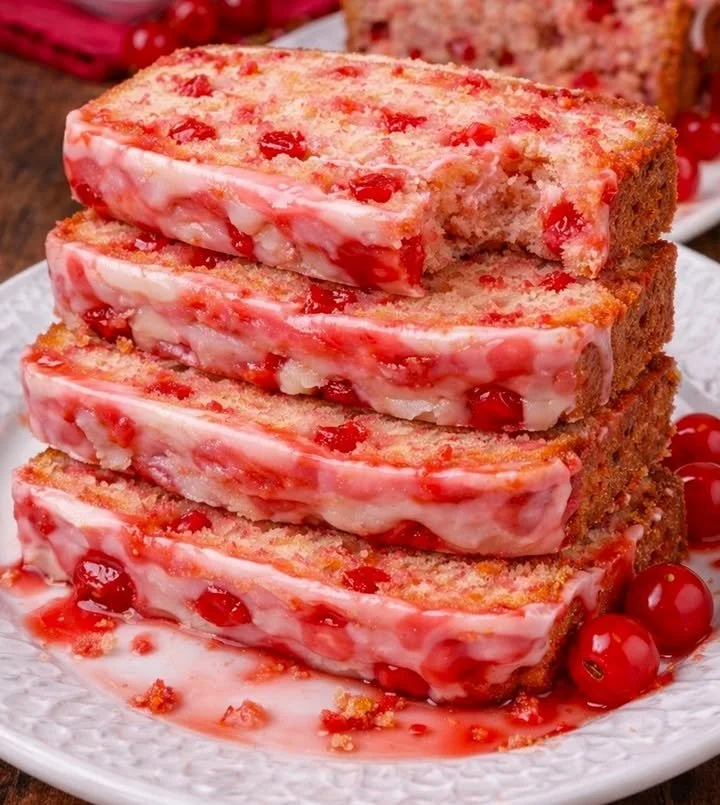
I tested this recipe multiple ways and found that using fresh cherries yields the best results, especially in terms of flavor. However, if you go for frozen cherries, make sure to thaw and drain them first to prevent excess moisture in the batter. I’ve also played around with adding almond extract instead of vanilla for a twist; it complements the cherries beautifully.
Another tip: Always ensure your butter is at room temperature. This step is crucial for creating that fluffy texture when creaming with sugar. If you’re like me and forget to take it out beforehand, a quick zap in the microwave (about 10 seconds) can work wonders—just don’t melt it!
Lastly, let your cake cool completely before slicing. I know it’s hard to resist, but cooling helps set the texture and keeps it from crumbling when you cut it. Trust me, the wait is worth it!
Common Mistakes to Avoid
One of the most common mistakes is not measuring the flour correctly. I used to scoop it directly from the bag, which often leads to too much flour and a dense cake. Instead, spoon the flour into your measuring cups and level it off for accuracy. This small change made a huge difference in my cakes!
Another pitfall is overmixing the batter. When you combine the wet and dry ingredients, mix just until you don’t see any flour streaks. Overmixing can develop the gluten in the flour, making the cake tough instead of light and fluffy. It took me a few tries to learn this, and every time I’ve held back on mixing, the cake ended up being so much softer.
Lastly, keep an eye on baking time! Ovens can vary, and I found out the hard way that starting to check at the lower end of the baking time is key. If you’re unsure, remember that a toothpick should come out with a few moist crumbs, but not wet batter. Just 2-3 minutes can make all the difference!