Pro Tips for Best Results
My number one tip is all about temperature. Every component needs to be the right temp. The cream cheese must be genuinely soft at room temperature (I leave mine out for 2-3 hours). If it’s even slightly cold, you’ll get tiny lumps no amount of mixing can fix. Similarly, the melted white chocolate should be cooled to just barely warm to the touch before adding it. I’ve tested this three different ways, and this careful temperature control is what separates a good cheesecake from a sublime one.
When whipping the heavy cream, stop at stiff peaks. This means when you lift the beaters, the peaks stand straight up and don’t droop. Over-whipping will lead to a grainy texture. I also like to chill my mixing bowl and beaters for 10 minutes before I start—it helps the cream whip faster and more stably. This little bit of forethought ensures your filling has the structure to hold those beautiful layers and swirls.
For the cleanest slices, take an extra step. Before serving, I run a thin knife under very hot water, wipe it dry, and then make my cut. I repeat this between every single slice. It’s a bit fussy, but it gives you that pristine, sharp-edged piece you see in magazines. I didn’t do this for years, and my slices, while delicious, always looked a bit ragged. This simple trick elevates the entire presentation.
Common Mistakes to Avoid
The most common mistake is rushing the setting time. I made this error the first time—I gave it only four hours in the fridge because I was impatient. When I went to slice it, the center was still a soft, delicious mess. It tasted great but looked like a dessert casualty. Don’t do what I did. This cheesecake truly needs that full 6-8 hours, and overnight is king. The texture becomes perfectly sliceable yet meltingly creamy.
Another pitfall is not mixing the cream cheese enough. When you think it’s smooth, mix for another 30 seconds. Any tiny lumps of cream cheese hiding in that bowl will become glaringly obvious in your final, smooth filling. Also, avoid overmixing once the whipped cream is added. You want to fold just until no white streaks remain. Aggressive mixing will deflate the air you just whipped in, resulting in a denser, less dreamy cheesecake.
Serving Suggestions
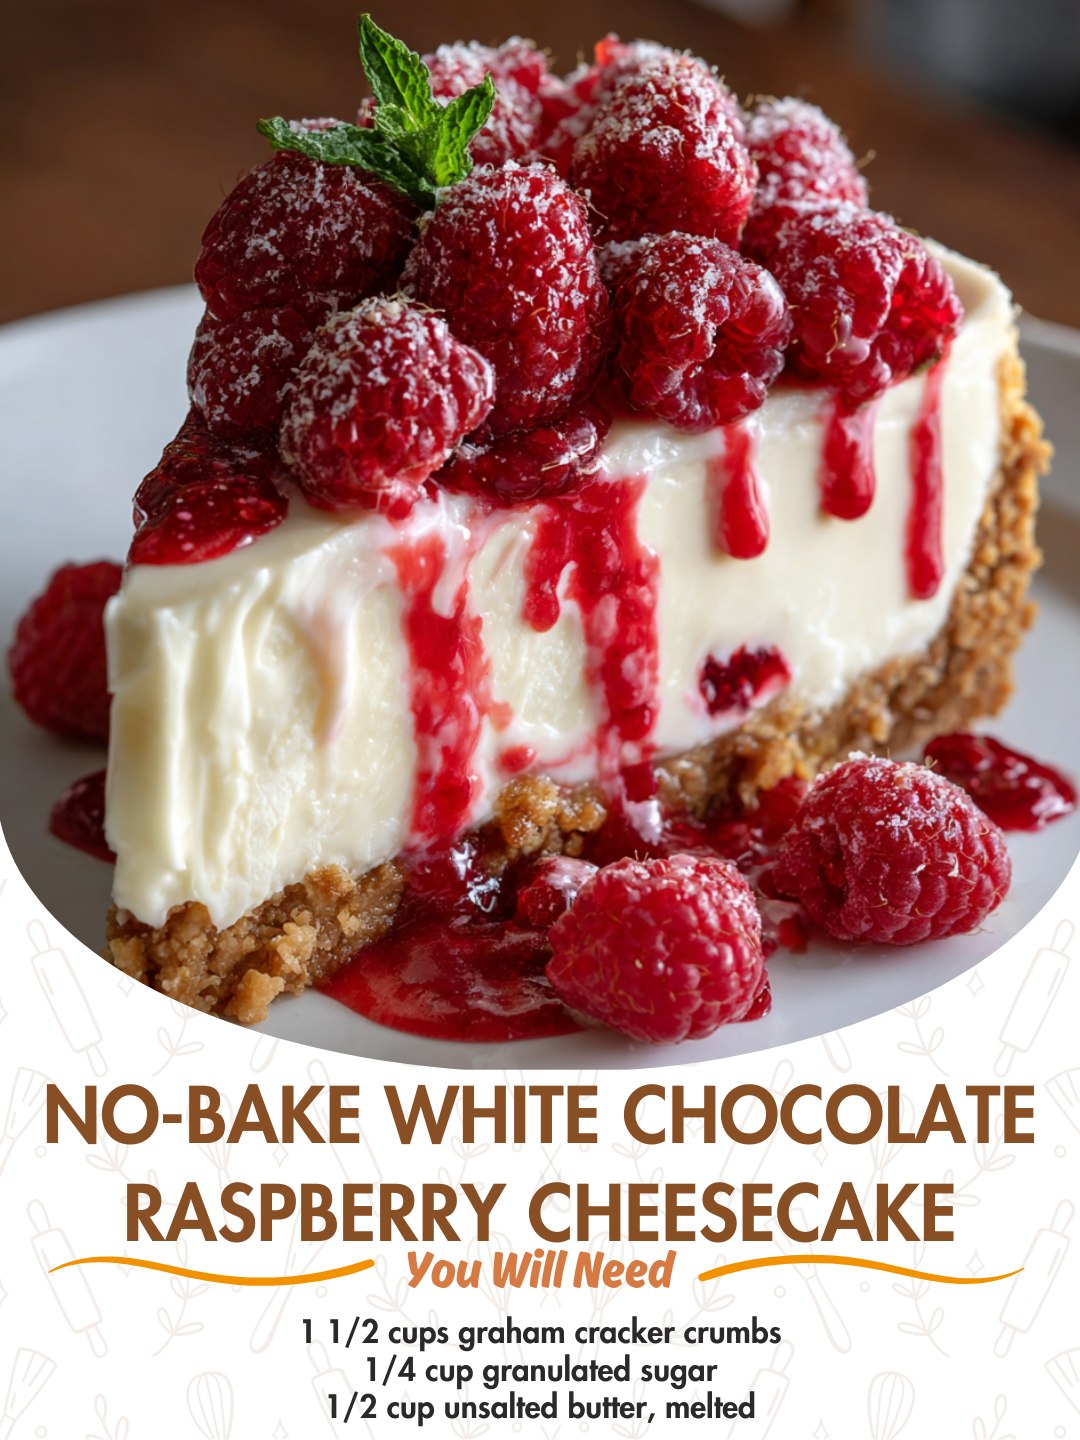
I love serving this cheesecake straight from the fridge, cold and firm. Just before bringing it to the table, I’ll garnish the top with a scattering of fresh, whole raspberries and maybe a few delicate mint leaves. It adds a pop of color and freshness that hints at the flavor inside. For a touch of elegance, I sometimes grate a little extra white chocolate over the top or dust the very edges with a whisper of powdered sugar.
For accompaniments, simplicity is best. A dollop of extra softly whipped cream on the side is never wrong. If I have any leftover seedless raspberry puree, I’ll thin it with a tiny bit of water and drizzle it on the plate in an artistic swipe before placing the slice on top. It makes for a stunning restaurant-worthy presentation. A crisp, sparkling Prosecco or a glass of cold dessert wine pairs divinely, cutting through the richness.
In the summer, I like to add a small scoop of vanilla bean ice cream or a sorbet on the side—raspberry or lemon are both fantastic choices. The contrast in temperatures and textures is heavenly. In the winter, I might skip the ice cream and just add a warm cup of coffee or tea. It’s a versatile dessert that suits any season.
Variations & Customizations
This recipe is a wonderful canvas. If you’re not a white chocolate fan, you can easily swap it for the same amount of semi-sweet or dark chocolate. The result is a deeply rich, chocolate-raspberry cheesecake that’s equally incredible. I’ve also swapped the raspberries for blackberries or a mix of blueberries and strawberries. Just cook them down the same way; the different fruit purees create a whole new dessert experience.
For the crust, get creative! Instead of graham crackers, try using biscoff cookies, chocolate wafer cookies, or even crushed pretzels for a sweet-and-salty twist. Just keep the butter-to-crumb ratio roughly the same. You can also add a handful of finely chopped nuts, like toasted almonds or pecans, to the crust mixture for added crunch and flavor.
Want to change the swirl? Instead of a fruit puree, you can swirl in about 1/3 cup of a different sauce. I’ve had great success with salted caramel sauce for a salted caramel white chocolate cheesecake, and even with a passionfruit curd for a tropical vibe. The method is exactly the same—just dollop and swirl. It’s your dessert masterpiece; make it your own.
How to Store, Freeze & Reheat
To store, keep the cheesecake covered tightly with plastic wrap or in an airtight container in the refrigerator. It will stay perfectly fresh and delicious for up to 5 days. The crust may soften slightly by day 4 or 5, but the flavor will still be wonderful. I often make it two days ahead for a party, as the flavors meld and improve.
Yes, you can freeze this! I wrap the whole cheesecake (or individual slices) tightly in two layers of plastic wrap, then a layer of aluminum foil. It freezes beautifully for up to 2 months. To serve, I transfer it to the refrigerator to thaw overnight. I don’t recommend freezing it with fresh berry garnishes, as they’ll get mushy. Add those after thawing. Do not try to microwave it or reheat it; this is a dessert meant to be enjoyed cold and refreshing straight from the fridge.
Conclusion
This no-bake white chocolate raspberry cheesecake has become more than just a recipe in my home; it’s a guaranteed smile-maker, a celebration in a pan. It represents the joy of creating something breathtakingly beautiful and delicious without complication. I hope it brings as much light and delight to your table as it has to mine. Now, go grab that springform pan, and let’s make some magic. Don’t forget to come back and tell me all about it