Next, whip the heavy cream in a separate bowl until it forms stiff peaks. As I stand there watching it transform, I can’t help but be reminded of how satisfying it is to see soft cream turn into something fluffy and indulgent. Gradually add in the powdered sugar and vanilla extract, continuing to whip until everything is well combined. Fold this whipped mixture gently into the prepared pudding, taking care not to deflate the cream too much. You want that luscious, airy texture!
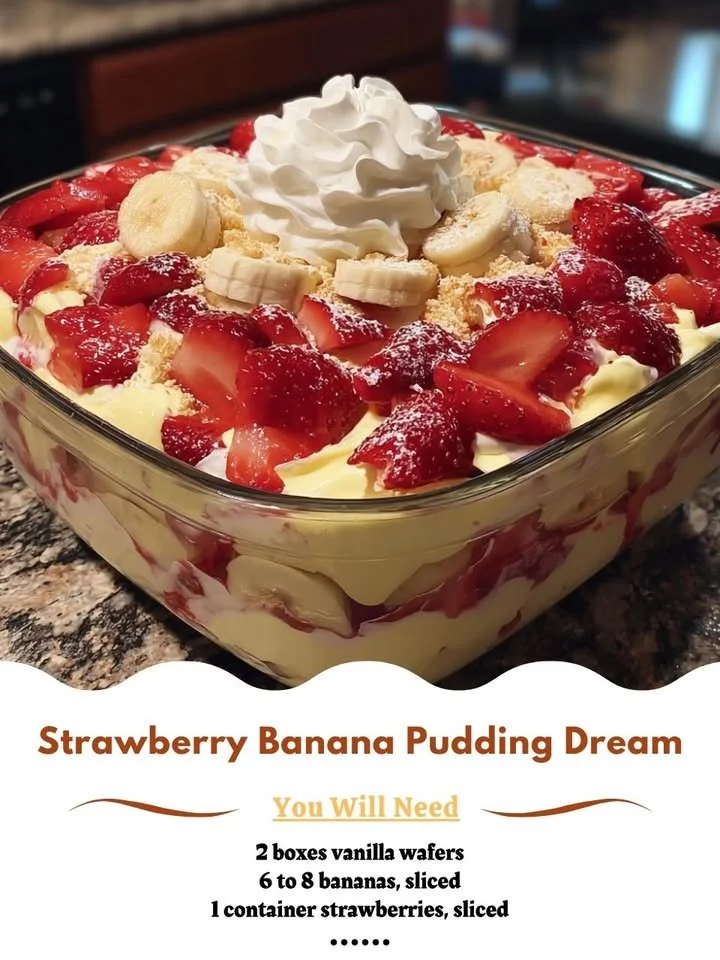
Now it’s time to start layering. Grab your 9×13 dish or trifle bowl, and put a layer of vanilla wafers at the bottom. You can arrange them as neatly or haphazardly as you’d like; it’s your kitchen and your creation! Next, drizzle a layer of the pudding mixture over the wafers. Then, add a layer of sliced bananas and strawberries. Repeat these layers until you’ve used all your ingredients, finishing with a gorgeous layer of whipped pudding on top. I like to top it with a sprinkle of crushed wafers and a few fresh strawberry slices for that perfect finishing touch!
Once everything is layered, cover the dish with plastic wrap and pop it in the fridge for at least 4 hours, or overnight if you can resist the temptation. This chilling time really helps all those flavors meld together, allowing the wafers to soften just enough to provide that perfect base while keeping the dessert delightful and refreshing.
Pro Tips for Best Results
From my countless trials in making this dessert, I’ve learned that using freshly whipped cream truly elevates the dish. One time, I opted for store-bought whipped cream in a pinch, and while it was okay, nothing beats the flavor and texture of freshly whipped cream made with heavy whipping cream. Whipping it yourself really allows you to control the sweetness too!
Another tip I swear by is to choose bananas that are just ripe—not too hard and not overly spotty. Trust me when I say, if they’re overly ripe, they can get mushy and unappealing in the pudding. I’ve had a few of those mishaps, and it just doesn’t look as appealing when I serve it up!
Lastly, when layering, be sure to gently press down on the layers. This creates nice, compact layers for presentation and ensures that every spoonful has a little bit of everything. I always aim for that perfect bite that combines creamy pudding with fruit and wafer for the ultimate Strawberry Banana Pudding Dream experience!
Common Mistakes to Avoid
I’ve certainly learned some lessons along the way when making this dessert! One common mistake I see is impatience—nothing good comes to those who rush. Skipping the chilling step is a classic pitfall. Trust me, when I first made this dessert, I couldn’t wait to dig in. I scooped some out after just an hour of chilling and I regretted it. It was far too messy and didn’t hold its shape as well as it should! (See the next page below to continue…)
Another mistake is using overly-soft bananas. I once had to throw out an entire batch because the bananas I used were too far gone, and instead of beautifully layered shades of yellow, it was just a mushy mess. Always go for the ones that are firm but ripe, and you’ll thank yourself in the end!
Finally, a common error people make is not sealing the dessert correctly! When I first made it, I left it uncovered in the fridge, and the pudding picked up strange flavors from other foods. Now, I always make it a point to use plastic wrap, ensuring it’s touching the surface of the pudding to prevent that problem. Just think of it as giving your dessert a cozy blanket in the fridge!